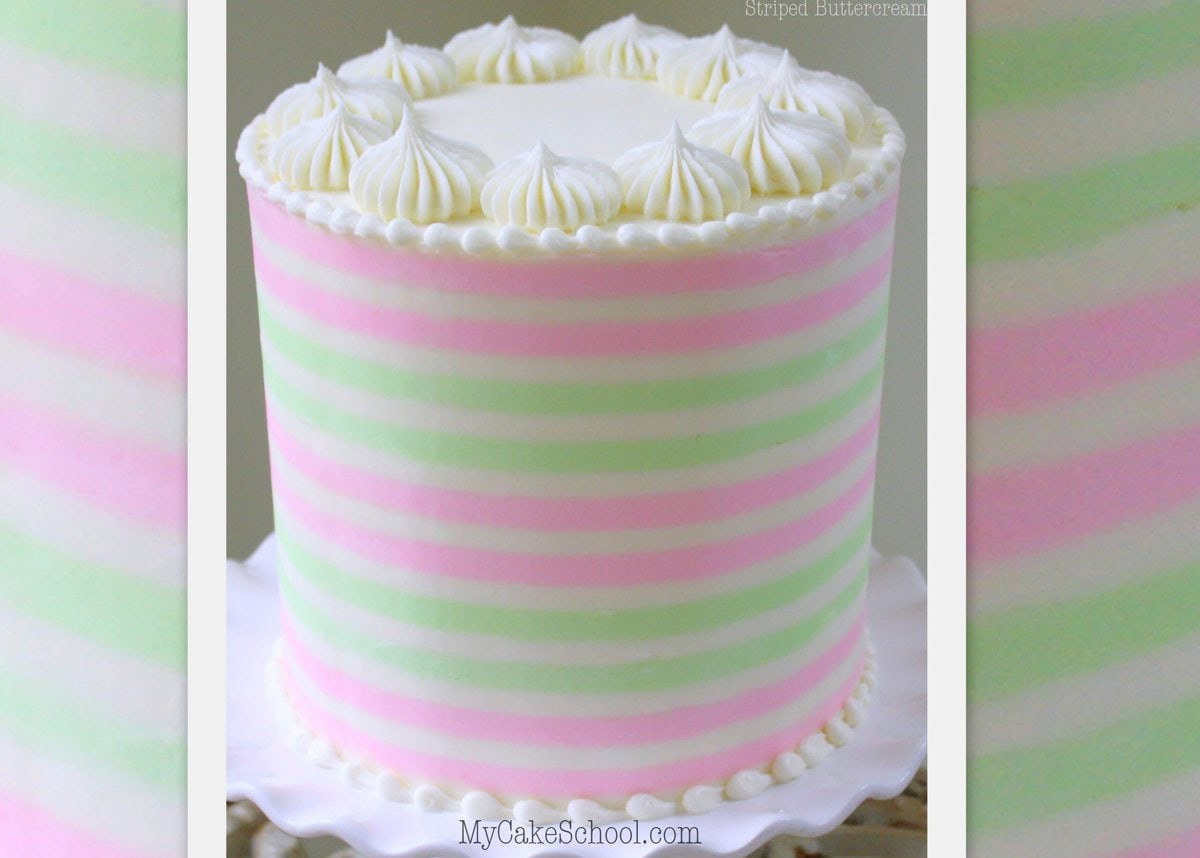
How to Make a Striped Buttercream Cake- Cake Decorating Tutorial
In this tutorial, you will learn how to create a beautiful striped buttercream cake, quickly and easily.
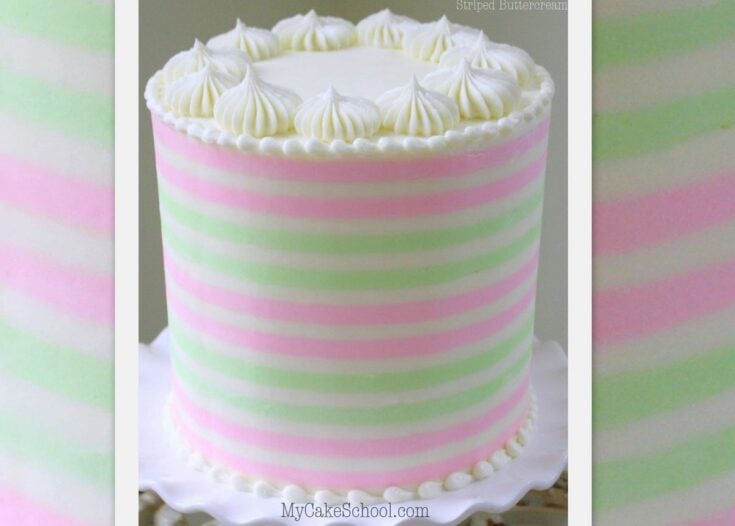
This is such a fun, versatile buttercream technique. Once you know how, you can change up the colors or cake comb that you are using to create all sorts of fun designs for birthdays, baby showers, weddings, and more!

Table of Contents
How do you make a Striped Buttercream cake?
- The key players in this tutorial are your butter-based buttercream (we used our classic vanilla buttercream recipe), a simple cake comb, and a bench scraper.
- Make sure that you use a butter-based frosting recipe because we want the combed cake to become nice and firm when chilled. This is really helpful when filling in with the contrasting colors and scraping away the excess.
- After combing the cake, we chill it until the buttercream is firm- about 20 minutes or so should do it.
- Then, we went in with our contrasting colors of buttercream and filled the nice, deep ridges.
- Fill the ridges to about the same level as the white frosting, or slightly more. Then, go in and comb the excess away with a heated bench scraper. (We heated our bench scraper in a pot of hot water.)
Materials
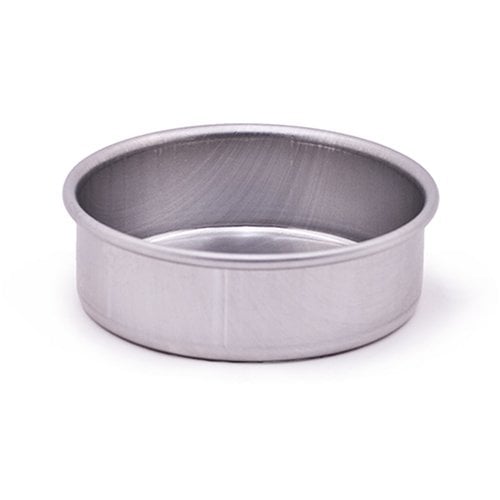
This method can be used on any size of cake. We used a 6 inch double barrel cake, frosted with our Classic Vanilla Buttercream recipe and combed with a Wilton Cake Comb.
Cake Comb- I prefer combs with fairly deep impressions and ridges that are fairly spaced apart (Less stripes to make!) We used this set of Wilton Cake Combs (affiliate).
Buttercream-Needs to be butter-based (not shortening) like our Classic Vanilla buttercream recipe. Butter becomes much firmer when chilled.
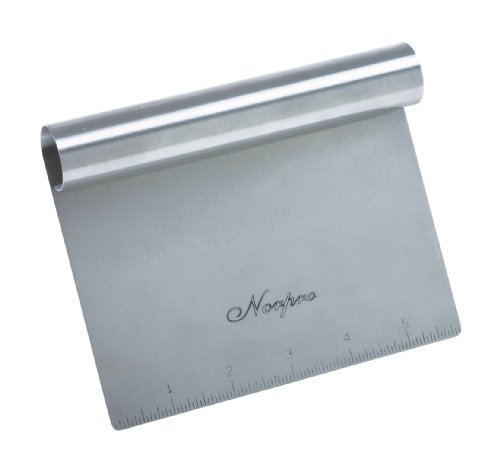
Bench Scraper
Coloring Gels: We used Wilton Rose & Wilton Leaf Green
Piping Tips: Wilton 10 and Ateco 869 for piping on top (You can substitute with a Wilton 2D or other large star tip if you don’t have a large french tip), Wilton tip 4 (Bead Border)
Additional Notes on Striped Buttercream
There are a couple of shortcuts that you may be able to take for this striped buttercream cake method.
For instance, after applying a generous layer of frosting to your cake, you may be able to comb the cake with no worries of catching crumbs, etc. I had to chill mine before adding the final coat but you may not. (*Final coat of frosting remains soft so that you can easily comb.)
Also, in our trial run of this method, I did not have to dip my bench scraper in hot water. But for the video version, I had to. So, it’s best to have a pot of hot water on standby in case your bench scraper doesn’t easily glide over & smooth your frosting.
As I mentioned in the video, it is very important that your combed cake is well chilled before piping your lines. It needs to be firm so that you can do all of your piping and bench scrape the soft frosting into the ridges while the ridges are firm.
I hope that you have fun with this technique!!
Enjoy the Video!
Thanks so much for stopping by, we hope that you will give this striped buttercream cake technique a try!
How to Create Striped Buttercream! -Cake Tutorial
Learn how to make a beautiful striped buttercream design in this cake decorating tutorial!
Ingredients
- This method can be used on any size of cake. We used a 6 inch double barrel cake, frosted with our Classic Vanilla Buttercream recipe and combed with a Wilton Cake Comb.
- Cake Comb- I prefer combs with fairly deep impressions and ridges that are fairly spaced apart (Less stripes to make!) We used a Wilton cake comb but there are many options!
- Buttercream-Needs to be butter-based (not shortening) like our Classic Vanilla buttercream recipe. Butter becomes much firmer when chilled.
- Bench Scraper
- Coloring Gels: We used Wilton Rose & Wilton Leaf Green
- Piping Tips: Wilton 10 and Ateco 869 for piping on top (You can substitute with a Wilton 2D or other large star tip if you don’t have a large french tip), Wilton tip 4 (Bead Border)
Instructions
- Crumb coat the cake in a (preferably) butter-based frosting.
- Freeze for 10 minutes to firm up the frosting, then apply a second coat of frosting and comb the cake.
- Chill again to firm up in the freeze for about 15-20 minutes.
- Pipe within the ridges using a contrasting color of buttercream. Scrape away the excess with a bench scraper. Fill in any spaces or imperfections as needed and smooth with a bench scraper. (I find heating the bench scraper to use against the cold frosting is helpful in fine tuning.)
- Repeat the chilling/smoothing process until you're happy with the cake. Be careful not to remove too much of your buttercream- you don't want to lose your stripes ;0) -
Notes
A butter-based buttercream (rather than all-shortening) works best with this technique because the buttercream will firm up much more quickly when chilled, and will stay firm a little longer as you work.
Recommended Products
As an Amazon Associate and member of other affiliate programs, I earn from qualifying purchases.


Hi there! I really enjoy your video tutorials! The pink lemonade cake is amazing! I tried.. the operative word being TRIED...decorating my cake with stripes. It didn’t go so well. Was my frosting too soft or not thick enough? It all seemed to go well, until I used the cake comb. The frosting seemed to poke up and n places. Also, my bench scraper had an extended handle, so it didn’t sit flat on my turntable. I couldn’t get that frosting smooth for love or money! Any suggestions would be appreciated!
Hi Susan! I think that's a great first try- the method takes a little getting used to. I think that building out the frosting equally all the way around so that when you comb it, the white stripes are really pronounced and evenly raised helps a lot (and gives you a little more wiggle room when you're using the bench scraper later). You can fill in little dips in the frosting once you've chilled it and it's nice and firm. I think you'll find it much easier when you have a bench scraper that doesn't have an extended handle too because otherwise it's difficult to scrape things away evenly. Still, your cake looks pretty! ;0)