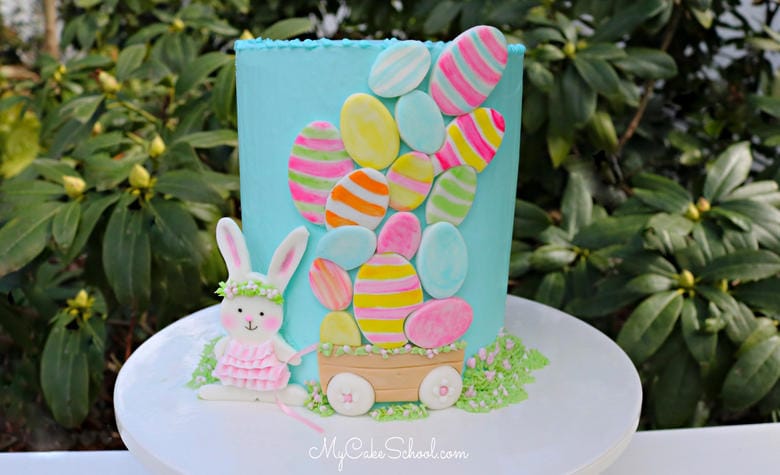
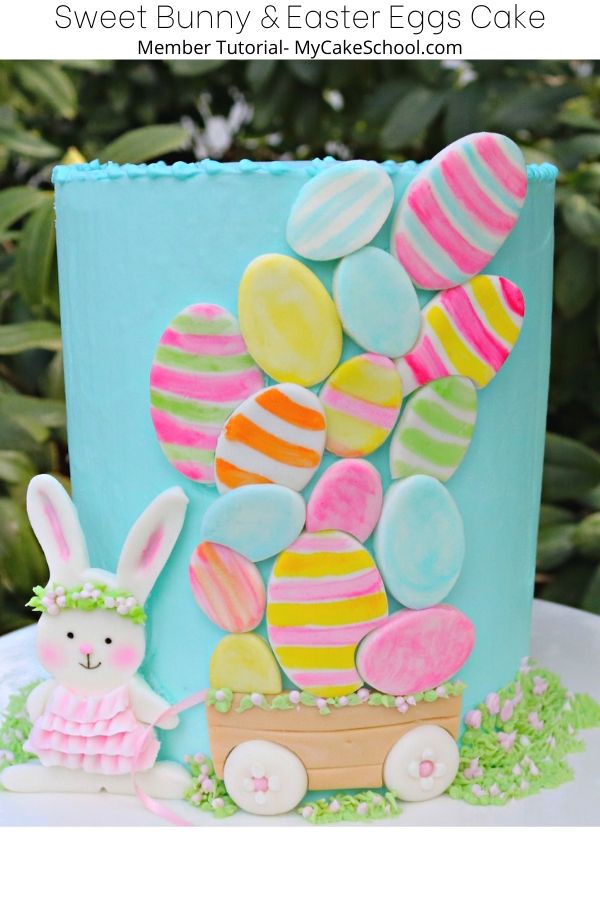
Easter Bunny and Wagon Cake
Hi everyone! Today we're sharing a super cute cake for Easter featuring a sweet bunny and lots of painted eggs!
I love springtime cakes with lots of color, and the simplicity of the cut outs in this design makes this cake doable no matter what your skill level of cake decorating!
We hope that you enjoy the video!
Materials:
For this cake, we decorated a six inch double barrel cake. You can use this design for any size of cake, although the extra height of double barrel cakes gives us plenty of room for the Easter eggs. This would also be a cute design for sheet cakes.
Our double barrel cake was four 6 inch layers with a cake cardboard halfway up and 4 bubble tea straws beneath the cake board, cut to the the height of the first to cake layers. The cake is frosted with our Fluffy Vanilla Buttercream, but our Classic Vanilla Frosting would be a great option. also.
Piping Tips: Grass tip (Ateco 133 or Wilton 233), Small round tip 3 or 4, Ruffle/petal tip 101
Coloring Gels: (For grass we used Americolor Avocado Green + Leaf Green), Wilton Rose, Americolor Orange, Sky Blue, Lemon Yelllow , Ivory (or brown) for wagon
Pink Petal Dust: Optional - I used this for rosy cheeks
Vodka (or lemon extract) for creating a paint
Food coloring pen- I used a Wilton Foodwriter Pen
Oval cutters
Miscellaneous: Small Paintbrush(brushes), Palette or plate for mixing your "paint", I used 4 bubble tea straw supports with a cake board halfway up, pedestal or cake base/drum of choice. If using cardboard cake boards, use at least 2 stacked ones for the cake base as one board will be too flimsy.
Whenever I frost a cake, I frost it on a turntable with a small tapered spatula followed by a bench scraper for smoothing. I pop the frosted cake in the freezer for about 10-15 minutes before smoothing over one last time with a hot spatula.


That is so darn cute! I just love it! :-) Nicely done as always ;-)
Such a cute cake, any child would love to eat this after their egg hunt! Great job as always.
So adorable!