Add Drama with Chocolate Accents! Cake Decorating Video Tutorial
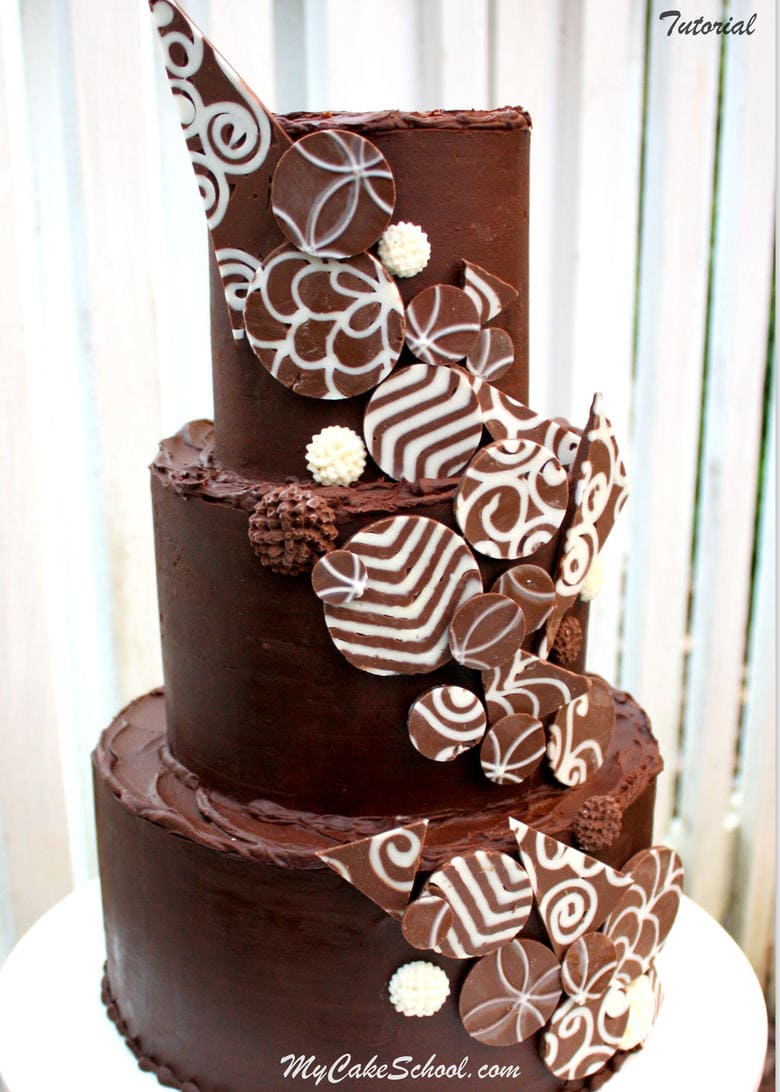
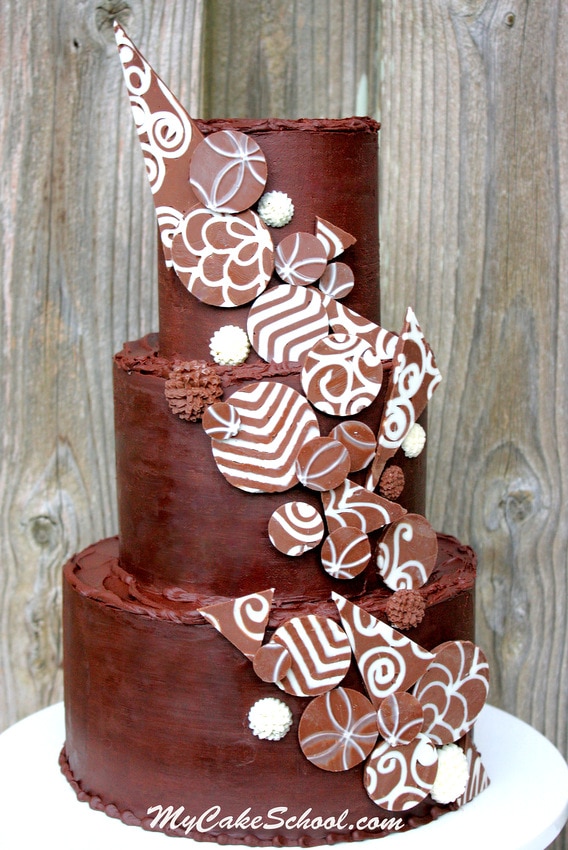
In this cake decorating video tutorial, you will learn to make beautiful, impressive chocolate accents from candy coating. These elegant decorations are quick and easy, and the options are endless!
Table of Contents
Materials:
Your chocolate candy coating of choice (We used white & dark bark coating from the grocery store which is Ambrosia brand) -- Wilton, Merkens, & Candiquick are all examples of popular coatings that would work well.
A tray or cookie sheet
Plastic Impression Mat
Plastic wrap/parchment to keep things neat
Sharp knife & circle cutters (pizza wheel/pastry cutter optional)
Cake comb to create the stripes & chevron- I used an Ateco brand comb
Piping bags (for piping the freehand designs)
*The tiered cake that I demonstrated on in the video was 8"/6"/4", frosted in ganache frosting.
Notes:
Remember that after spreading your candy coating over a cookie sheet, the chocolate is ready to cut when it takes on a matte finish. Do a sample cut, and if the cutter or knife doesn't create clean lines or clean cuts, the chocolate needs to set for a few more minutes. If your chocolate is spread a little more thinly in some areas than others, the thicker sections will likely need a few extra minutes to set.
Before placing the chocolate pieces onto the cake, I like to chill the chocolate so that I can more easily handle it without worry of breaking.
Remember to make more pieces than you think you'll need!


Awesome idea(s)!!
Thanks Guppy Love! xo
Melissa, I have an out of the box question. Could I have used the impression mat on the side of a crusted buttercreamed cake then follow up with a Wilton 3 tip piping yhe design in a contrasting color?
Could you use these chocolate decorations on a chocolate buttercream cake?
Hi Cathanne, Yes, it will be fine to use these accents on a chocolate buttercream cake. You can attach the accents with a small amount of buttercream or melted chocolate. Since our cake was ganache covered we used ganache to attach the accents.