Happy New Year Cake with Stars
The new year is almost here and we wanted to share a quick and easy Happy New Year Cake with Stars cake design!
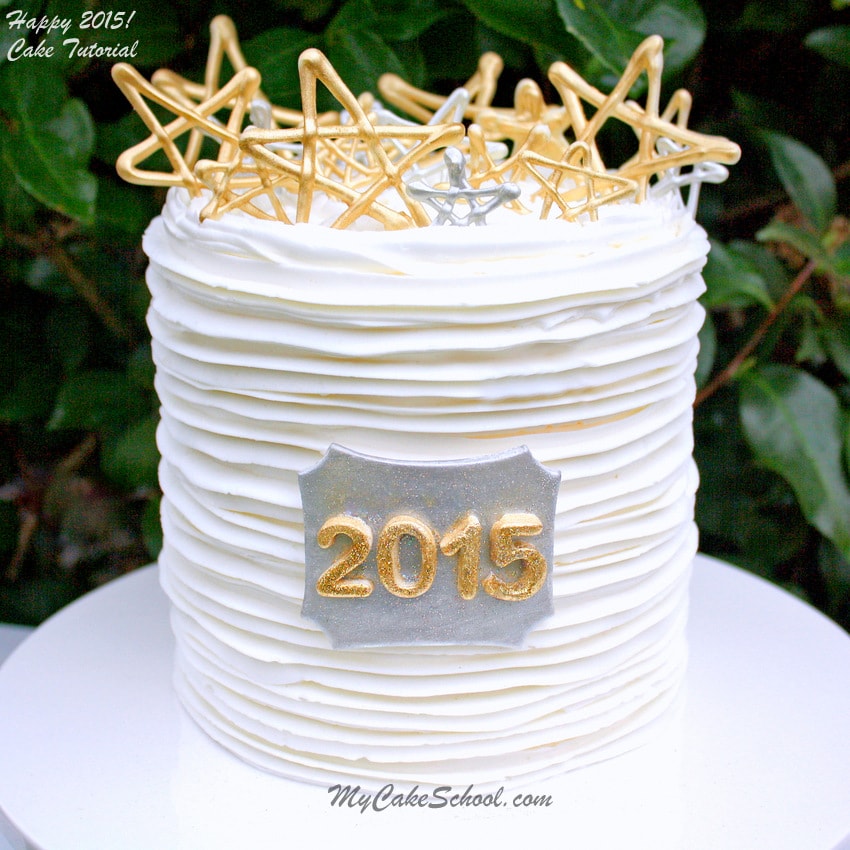
This beautiful, simple New Year's Eve cake design features elegant (yet very simple) buttercream piping around the sides, and is topped with chocolate candy coating stars!
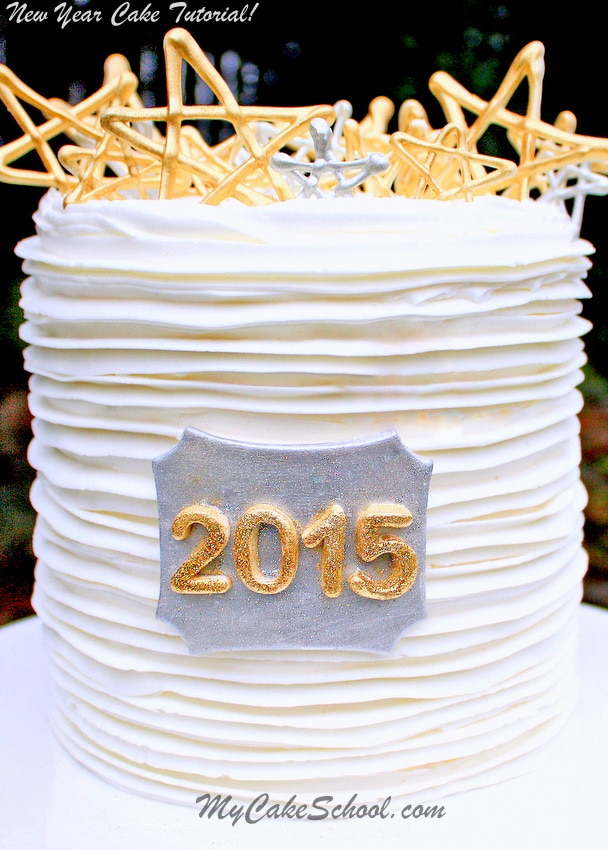
Table of Contents
Fun & easy Piping Technique
First, I truly love the look of piped buttercream on cakes. In fact, the more piping, the better! It's often a quicker option than applying frosting with a completely smooth finish, and I love the dressed up feel.
I often use my trusty 2D tip to pipe vertical ribbons of buttercream onto cakes....but today I wondered what would happen if I piped horizontally instead. The result is so pretty...and so easy! It's my favorite part of this tutorial ;0) A 1M piping tip works great for this technique as well!
How to make Our New Year's Cake
First, I crumb coated my cake with a thin layer of buttercream.
We used this Fluffy Vanilla Buttercream but any frosting that holds it's shape nicely to piping would work well. Another great recipe is our Classic Vanilla Buttercream recipe, which is butter-based rather than butter & shortening based.
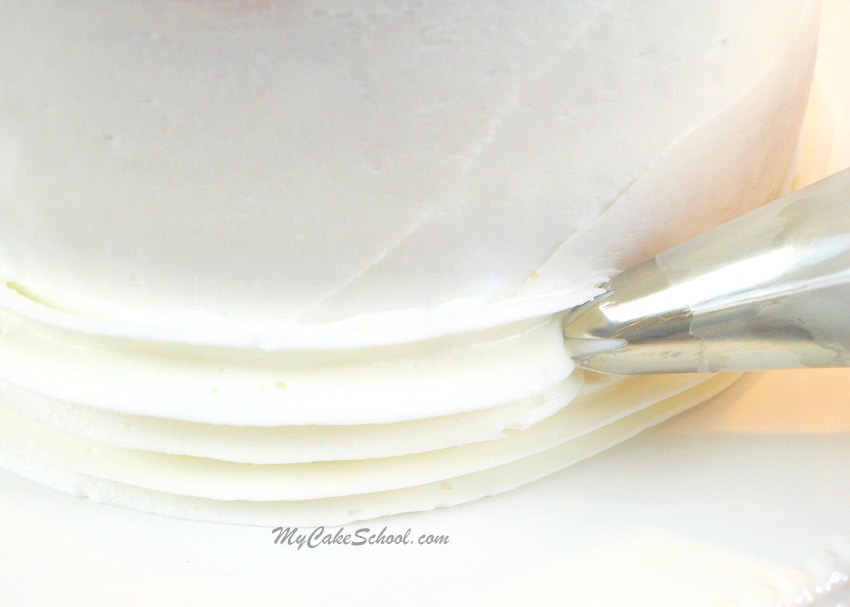
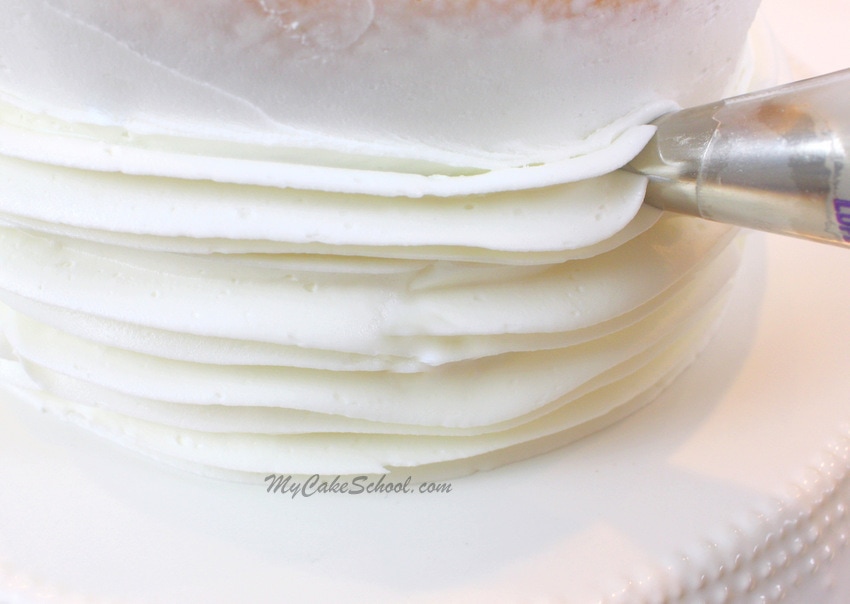
Just after crumb coating, and starting from the bottom of the cake, I piped long strands of buttercream with my 2D tip. If you have a turntable, it makes things a bit easier so that you can rotate the cake as you pipe.
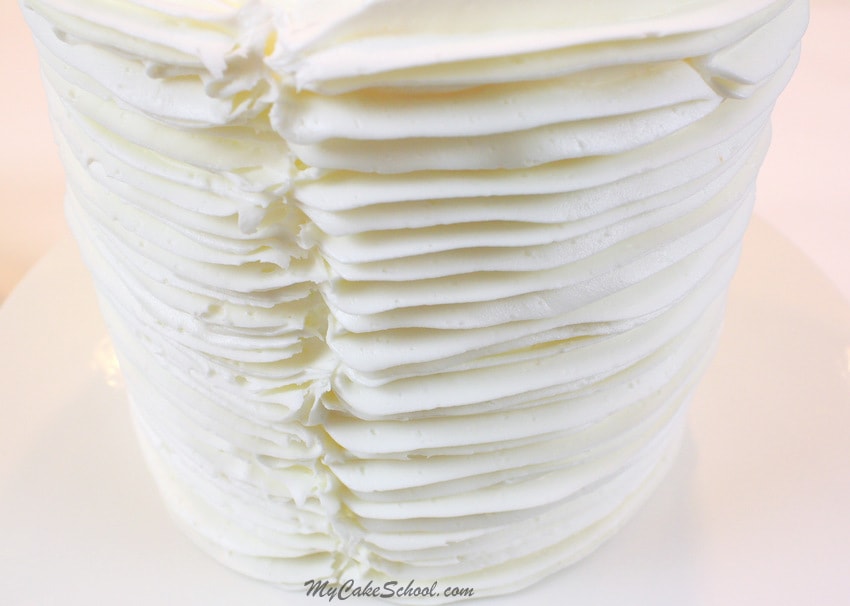
Here is a shot of the back of the cake. I stopped and started my bands of frosting in the same spot, creating a seam all the way down.
If the seam bothers you, you can pipe a vertical line of small rosettes, or add sugar pearl "buttons", but I like the look just as it is ;0).
The piped frosting was finished in just a matter of about 5-10 minutes!
For more fun piping techniques with a large star tip (1M or 2D), check out our cake decorating tutorial for Elegant Piping with a 1M Tip.
Creating the Fondant Plaque
Next, I created a fondant plaque. We actually used a plaque cookie cutter for this.
If you don't have one & would like this same shape, you can use a rectangular cutter and then snip away the corners with a small circle cutter or piping tip.
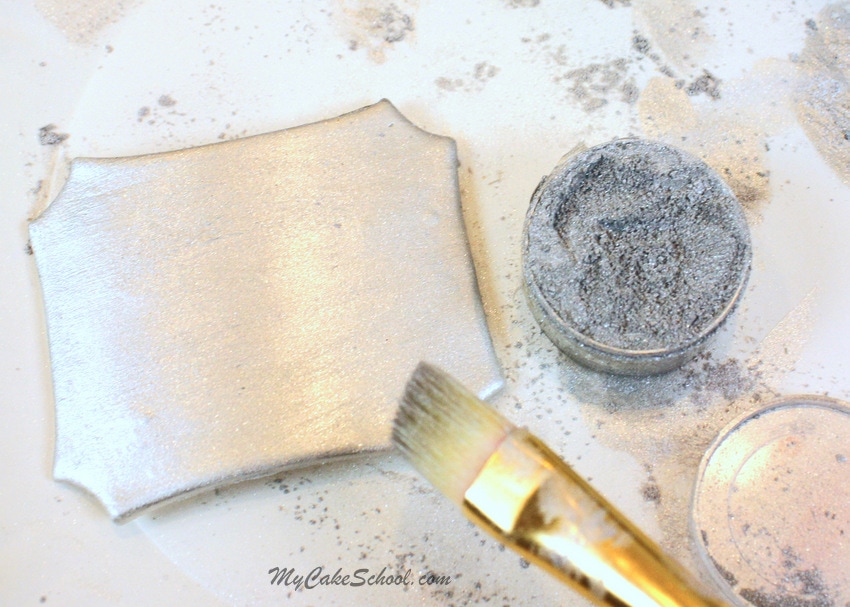
I dusted my plaque with silver luster dust. (Rolkem Super Silver)
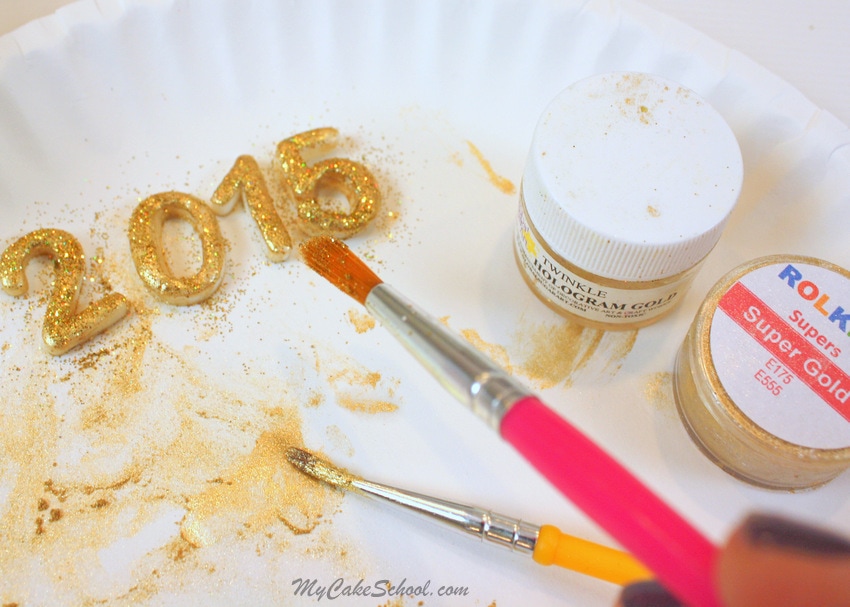
My fondant numbers were cut using a Wilton cutter set. I dusted with gold luster dust (Rolkem Super Gold) & sparkled with hologram twinkle dust.
 Chocolate Stars
Now for the chocolate candy coating stars. I LOVE these and they give great height to the cake!
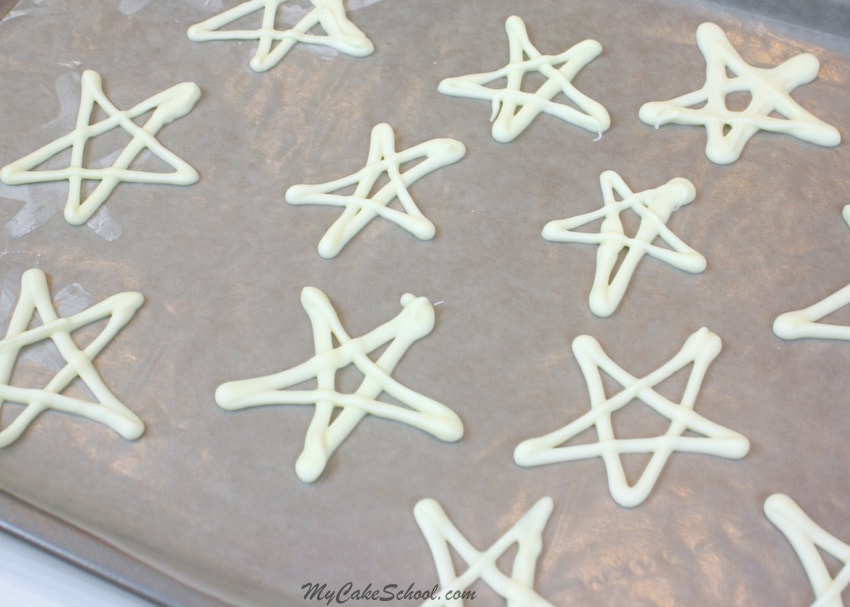
First, I melted white candy coating/bark coating and spooned it into a disposable piping bag (with the tip snipped away).
Then, I piped lots of stars onto a waxed paper lined cookie sheet. I chilled in the freezer for about 5 minutes so that they would set up much more quickly and could be easily handled.
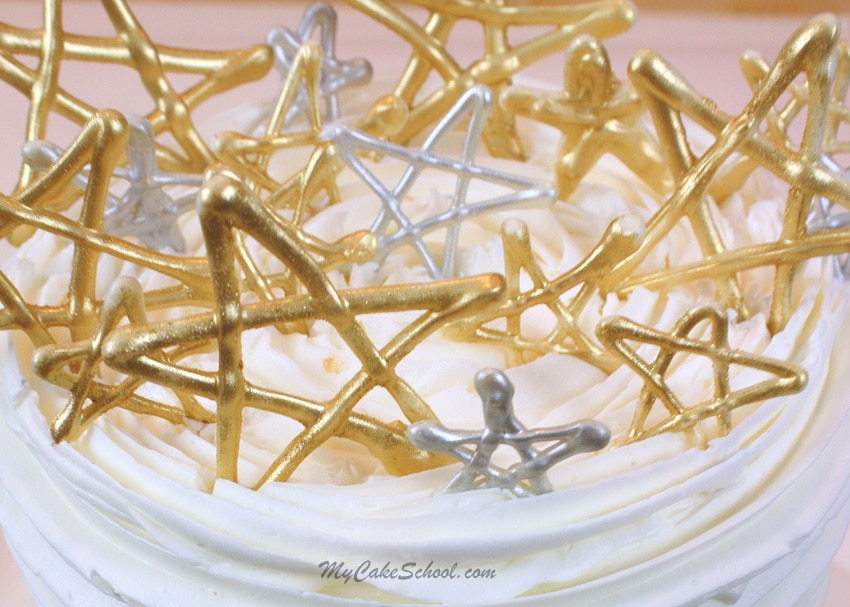
Next, using a dry paintbrush, I dusted my stars with silver and gold luster dust.
Pearl dust would have been nice too! I chilled the dusted stars one last time for a few minutes before placing them into the frosting.
(* Use your preferred luster dust for your stars. I used Rolkem Super Silver & Rolkem Super Gold luster dust for mine, which I ordered online. You could also sprinkle your stars with sparkling sugar/sprinkles or sugar pearls before they set up, or by using a little piping gel as adhesive.)
Make sure that you check your metallic dusts to see if they are food safe!
And that's all there is to it! I love that his cake is a little bit elegant and a little bit rustic all rolled into one. It is such a fun and simple design that could be used for birthdays as well- and the piping technique works for any occasion!
Thanks for stopping by our site, we truly appreciate it! Wishing you all the best in the new year!
Don't miss our Collection of Favorite New Year's Cake Recipes also!

 Chocolate Stars
@Jolena, I'm glad that you like it! @Rosangel, I piped a little buttercream to the back of the plaque before applying to the cake.
Hi Thanks for sharing and can you please add the link to order the dusters.
happy new year!!!!!!!!!!!! Loved the cake thanks.
it lovely
Just used this technique for an 8"x4" dark chocolate cake. I used 1M and piped the horizontal bands to the top, leaving the top of the cake flat and smooth. I actually used the "seam" (shown above in the back), as the front of my cake and piped in small 1M star where each line met. I then put light green sixlets in the center of each star.
This was a great, quick, design for a Manly Man Cake.
p.s. Received my subscription as a Birthday Gift! LOVE IT!
Hi Christina! I'm so happy that you liked this technique and put your own spin on it! I'm sure that it was a hit, and I'm happy that you are enjoying the site! xo
Were you able to find the Rolkum in the US, if so do you mind sharing!
I just love your site!
I've been looking for a supplier in the States for a while now with no success. Thanks!
Hi Sharon, We have not found the Rolkum gold in the US. Global Sugar Arts now has an edible gold luster dust that we will be trying soon. Here is a link to the product http://www.globalsugarart.com/search.php?q=edible+gold+luster+dust