Skip to content
About
Newsletter
Facebook
Instagram
Pinterest
Recipes & Tutorials
Cakes and Cupcakes
Fillings
Frostings and Glazes
Cake Decorating Tutorials
All Recipes & Tutorials
Cake Type
Scratch Cakes
Cake Mix Recipes
Cupcakes
Pound Cakes and Bundt Cakes
Flavors
Lemon
Chocolate
Vanilla
Caramel
Coconut
Fruity
Boozy
Classics
Seasonal
Coffee
Spring Cake Recipes
Archives
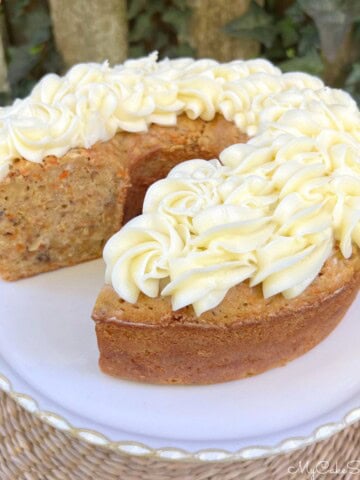
Carrot Pound Cake
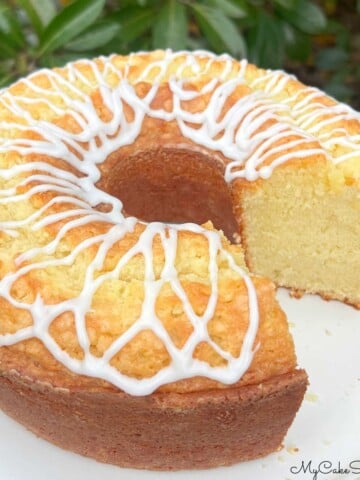
Coconut Whipping Cream Pound Cake
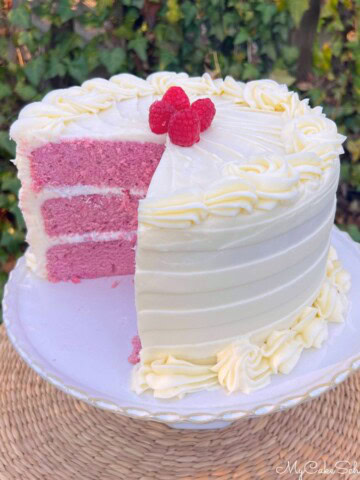
Raspberry Velvet Cake
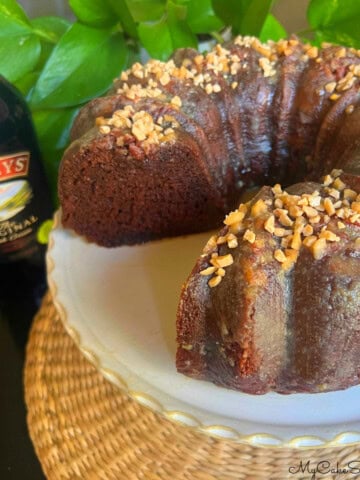
Easy Baileys Chocolate Bundt Cake
100+ Cakes with Fruit
Lemon Blueberry Mascarpone Cake
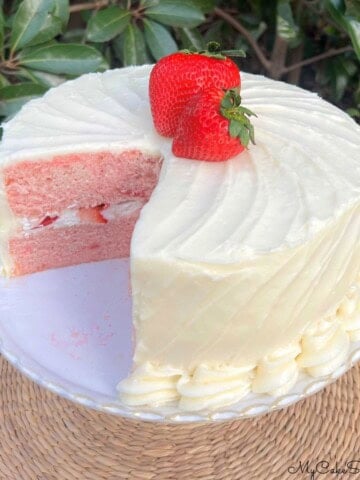
Strawberry Velvet Cake
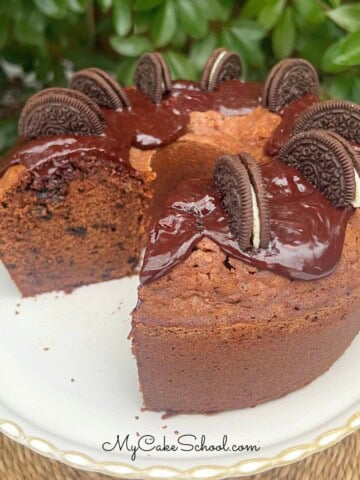
Chocolate Oreo Pound Cake
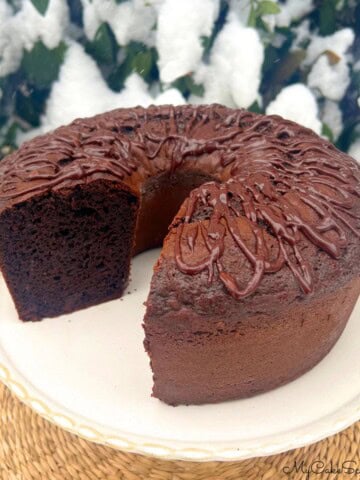
Brownie Bundt Cake
Coconut Cream Cheese Pound Cake
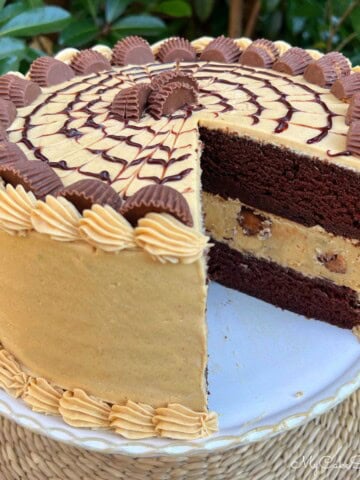
Chocolate Peanut Butter Cheesecake Cake
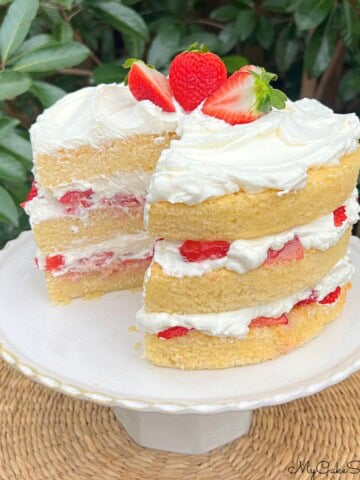
Champagne Cake with Strawberries and Cream
Most Popular Cakes of 2025
New Year's Cake Recipes!
15 Favorite Cakes for the Holidays
Coconut Cupcakes (cake mix)
Chocolate Peppermint Cake
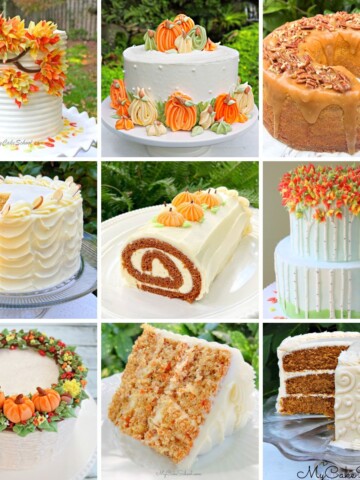
50+ Fall Cakes
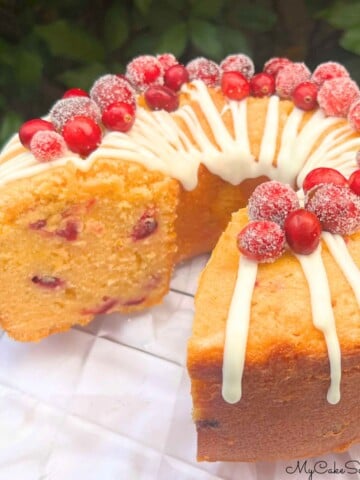
Cranberry Orange Pound Cake
Carrot Sheet Cake
German Chocolate Cupcakes (Cake Mix)
Chocolate Sheet Cake (with Peanut Butter Frosting)
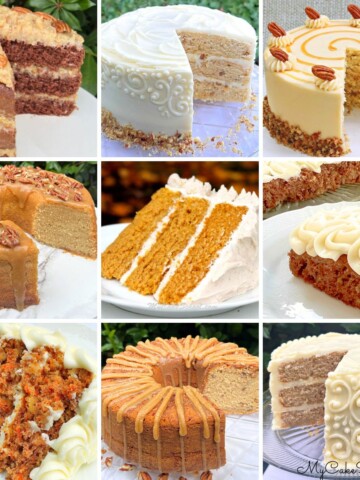
Fall Birthday Cakes
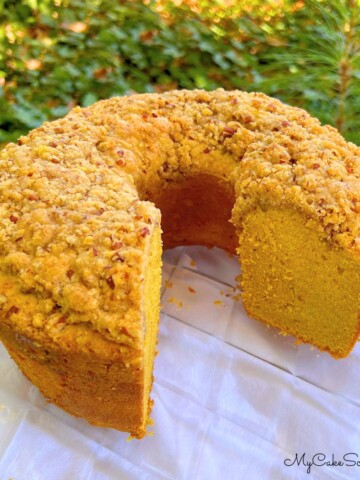
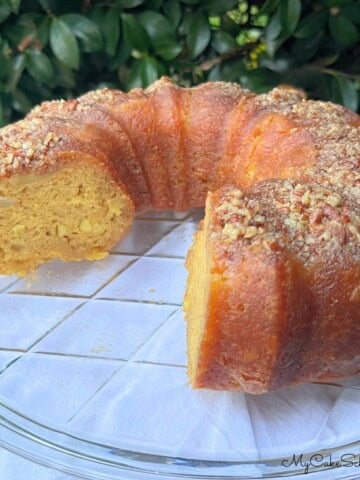
Pumpkin Pound Cake
Apple Rum Cake
15 Popular Fall Cakes for the Season
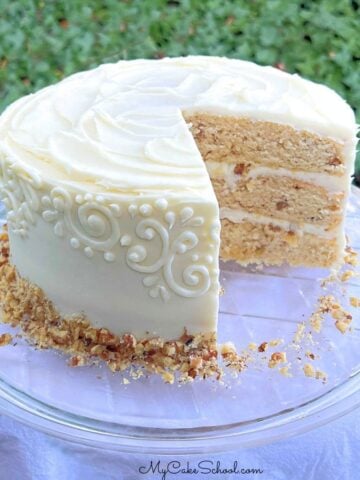
Maple Walnut Cake
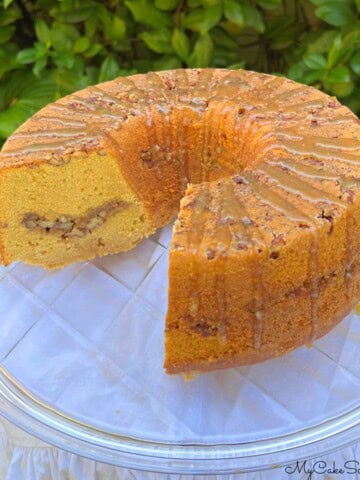
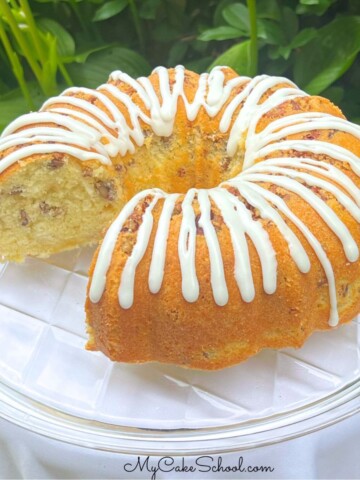
Sweet Potato Pecan Pound Cake
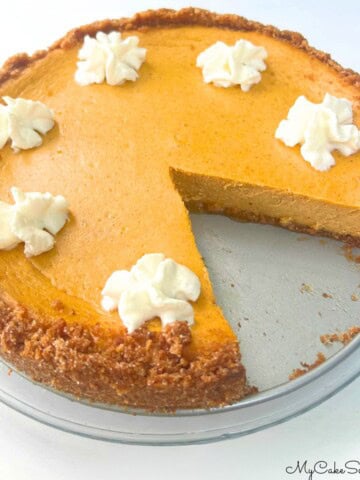
Pumpkin Cheesecake
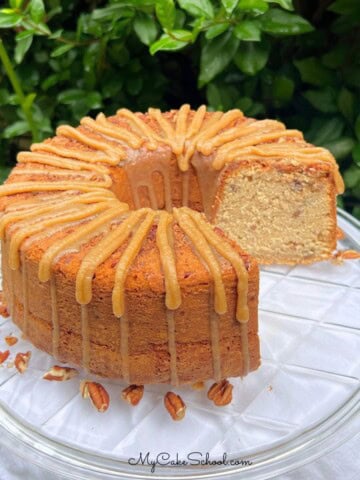
Pecan Spice Pound Cake
Apple Cupcakes
Apple Snack Cake
Coffee Cake (Pound Cake Recipe)
Cherry Velvet Cake
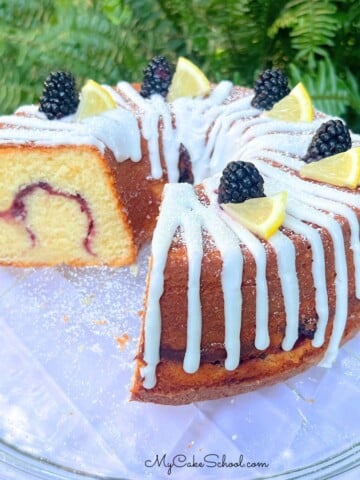
Lemon Blackberry Pound Cake
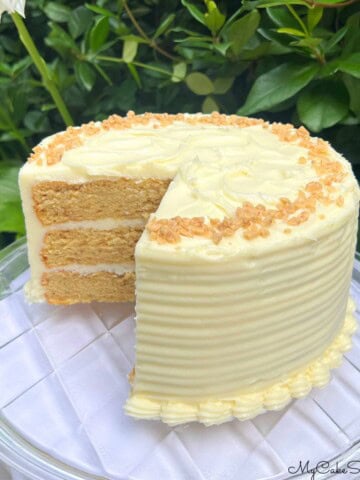
Easy Brown Sugar Toffee Cake
Coconut Pecan Cake
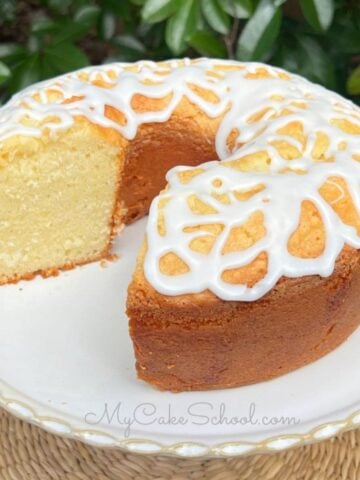
Brown Sugar Pound Cake
Pineapple Cupcakes
Coca Cola Cake
Recipes & Tutorials
Toggle child menu
Cakes and Cupcakes
Fillings
Frostings and Glazes
Cake Decorating Tutorials
All Recipes & Tutorials
Cake Type
Toggle child menu
Scratch Cakes
Cake Mix Recipes
Cupcakes
Pound Cakes and Bundt Cakes
Flavors
Toggle child menu
Lemon
Chocolate
Vanilla
Caramel
Coconut
Fruity
Boozy
Classics
Seasonal
Coffee
Spring Cake Recipes
Facebook
Instagram
Pinterest
Search for: