Quilling with Fondant & Gum Paste
Today I'm going to teach you the art of fondant quilling for your cakes and cupcakes!

This is a cake decorating technique that I've been wanting to try out for a while...and one that I've received a few tutorial requests on.
Now that I've tried it, I want to add quilling to everything! This is such a unique and fun way to decorate cakes.
Table of Contents
What is Quilling?
Quilling (with paper) is an artform that goes waaay back to the Renaissance....when French & Italian nuns and monks used quilling to decorate book covers and religious items. Fascinating! I found this on my trusted source of information, Wikipedia :0) -- If you would like to read more on the history of quilling, click here!
Quilling with Fondant and Gum Paste for Cake Decorating
Quilling with fondant and gum paste, at least the version that I'm going to demonstrate today, is a lot less complicated than paper quilling. You won't need any quilling tools....just some nice, thin strips of fondant or gum paste.
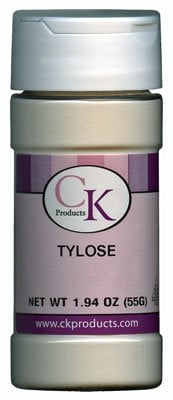
I used fondant for mine, but I did knead in some CMC powder (or tylose) to give it a more elastic consistency. This makes it easier for me to handle...plus, it dries more quickly than straight fondant.
Drying the Quilled Fondant Pieces
While some quilled pieces can be applied to the cake while still soft, I think that it is much easier to apply them after they have had a chance to dry. Depending on the humidity in your area, & whether you are using gum paste or fondant, this make take as little time as a few hours, or closer to a day or so. I let my pieces dry for a day.
Look at all of the fun designs!


Now.....let's get down to business.
My fondant stripes were varying lengths depending on the size and amount of coiling that I wanted-- but to give you an idea, the width was a little under ¼ inch.

Let the quilling begin! Here, I am making a tight coil of fondant.

My next coil is much looser. I'm using a little tylose glue to secure some parts of the piece to itself. A little water or piping gel would work for this also. (By the way, to create tylose glue, simply add a little warm water to tylose powder and allow to dissolve.)

Here, I'm making a C scroll. These make good butterfly wings!
 Here, I'm making an S scroll of fondant. I used a tiny bit of tylose glue to keep everything in place within the coil.
 Here, I'm making a teardrop shape. I started with a coil on one end of my strip. Then, I pinched it into a point before gluing the other end fo the trip to the coil. This teardrop gives is a nice petal shape for flowers.
 Fondant hearts are simply coiled on each end and pinched in the center. My pink heart is coiled pretty tightly whiole my white heart has smaller, looser coils.

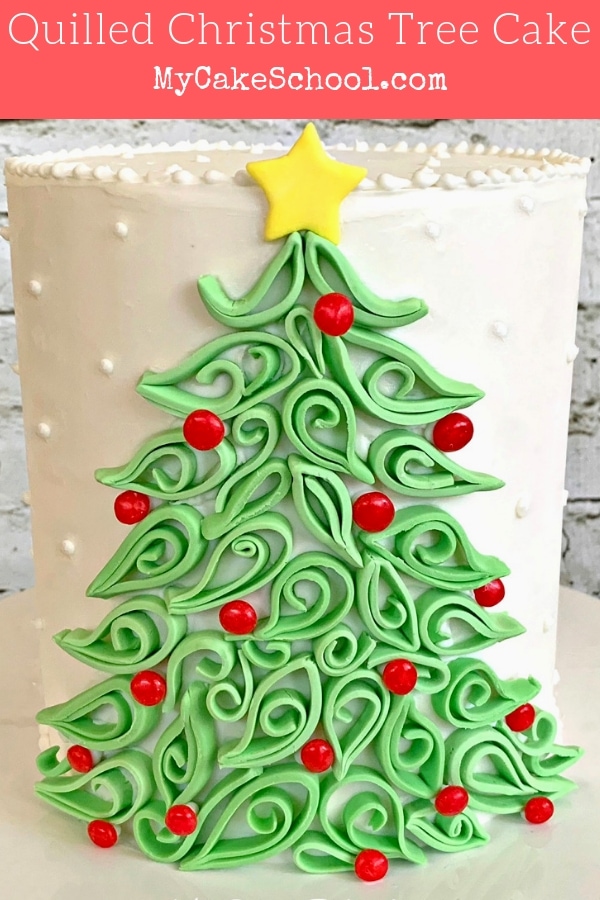
Time to design the cake with our Quilled Fondant Pieces!
Now that you know how all of this works, you can make up some great cake designs of your own- and for just about any theme! Quilled T-Rex anyone? :0)
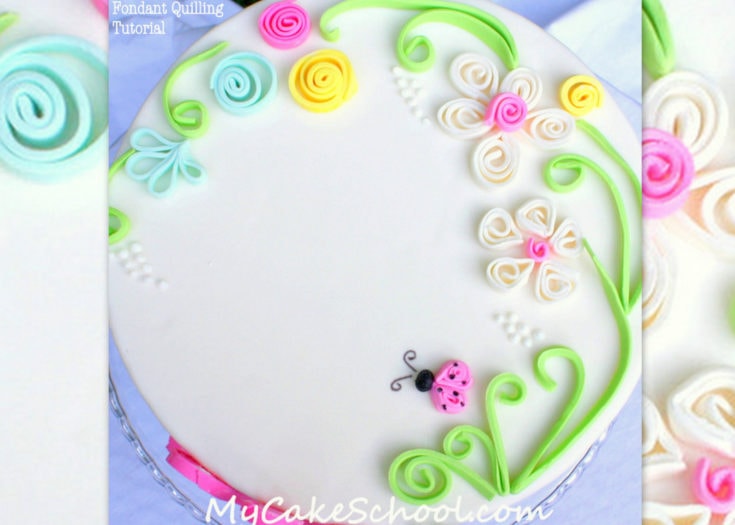
I glued my big daisy petals to the front side of my 8" fondant covered cake. I used tylose glue but a little melted candy melts/candy coating would have done the trick too. So would small pieces of dampened fondant.
You can use quilled fondant pieces on buttercream cakes also...just keep in mind that the heavier pieces may have to be placed on top of the cake rather than on the front side.
Want to see the cake?

I think that the top is my favorite part...

MY CAKE SCHOOL- ONLINE CAKE TUTORIALS, RECIPES, AND MORE!
Thanks so much for stopping by! If you make any quilled fondant cake designs, we would love for you to share a photo in the comments below!
For more Free Cake Tutorials, don’t miss our Free Cake Tutorials Section (including our Free Cake Videos) as well as our full collection of Favorite Cake and Frosting Recipes!
For even more cake decorating tutorials, you should consider becoming a member of My Cake School!
Our members have full online access to hundreds of cake video tutorials (every tutorial that we’ve ever made) for as long as the membership lasts! Find all of the details on our yearly memberships here: Joining Information for MyCakeSchool.com
We would love to have you!
Quilling with Fondant & Gum Paste
Learn how to create elegant fondant quilling for your cakes and cupcakes in this step by step cake decorating tutorial! We love the unique look of this beautiful cake decorating technique!
Materials
- (For this tutorial, I decorated an 8 inch tier covered in fondant- Apply these design to any size cake you like! I've also used quilled fondant designs on crusting buttercreams with no trouble.)
- Fondant or Gum Paste (If using fondant, knead in a little tylose powder so that the pieces will dry firmer and faster.)
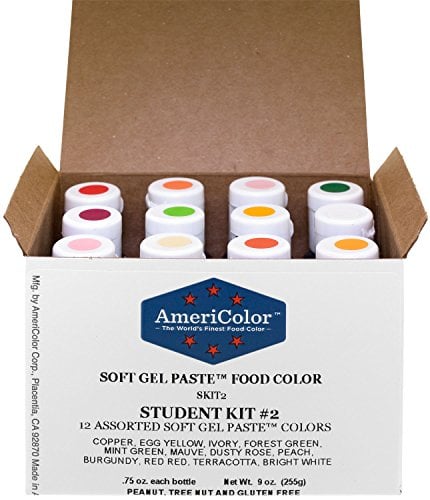
- Your Coloring Gels of Choice- I used Americolor Sky Blue, Lemon Yellow, Wilton Rose, Americolor Electric Green, Black
- Fondant Multi-Ribbon Cutter (Optional)
- Food coloring pen for ladybug dots (you can also use buttercream or coloring gel applied with small brush)
- Edible Glue like tylose glue (tylose powder+ warm water) or piping gel
Instructions
- Knead a little tylose powder into your fondant (or use gum paste). Roll it out to about ⅛ inch thickness or less, and then cut strips of fondant either with a knife or with a multi ribbon cutter set to about a ¼ inch wide.
- Create the various coiled shapes, teardrop shapes, etc. for the flowers, ladybugs, etc. that you will be creating.
- Allow the pieces to dry for several hours or until they have firmed up. You can make the pieces days in advance as long as you keep them out of direct sunlight or fluorescent light (so that the colors won't fade).
- Apply to the cake with your edible glue of choice. (Examples of "glue" could be tylose glue, fondant with a touch of water kneaded into it until tacky, melted candy coating, buttercream, etc.)
Recommended Products
As an Amazon Associate and member of other affiliate programs, I earn from qualifying purchases.


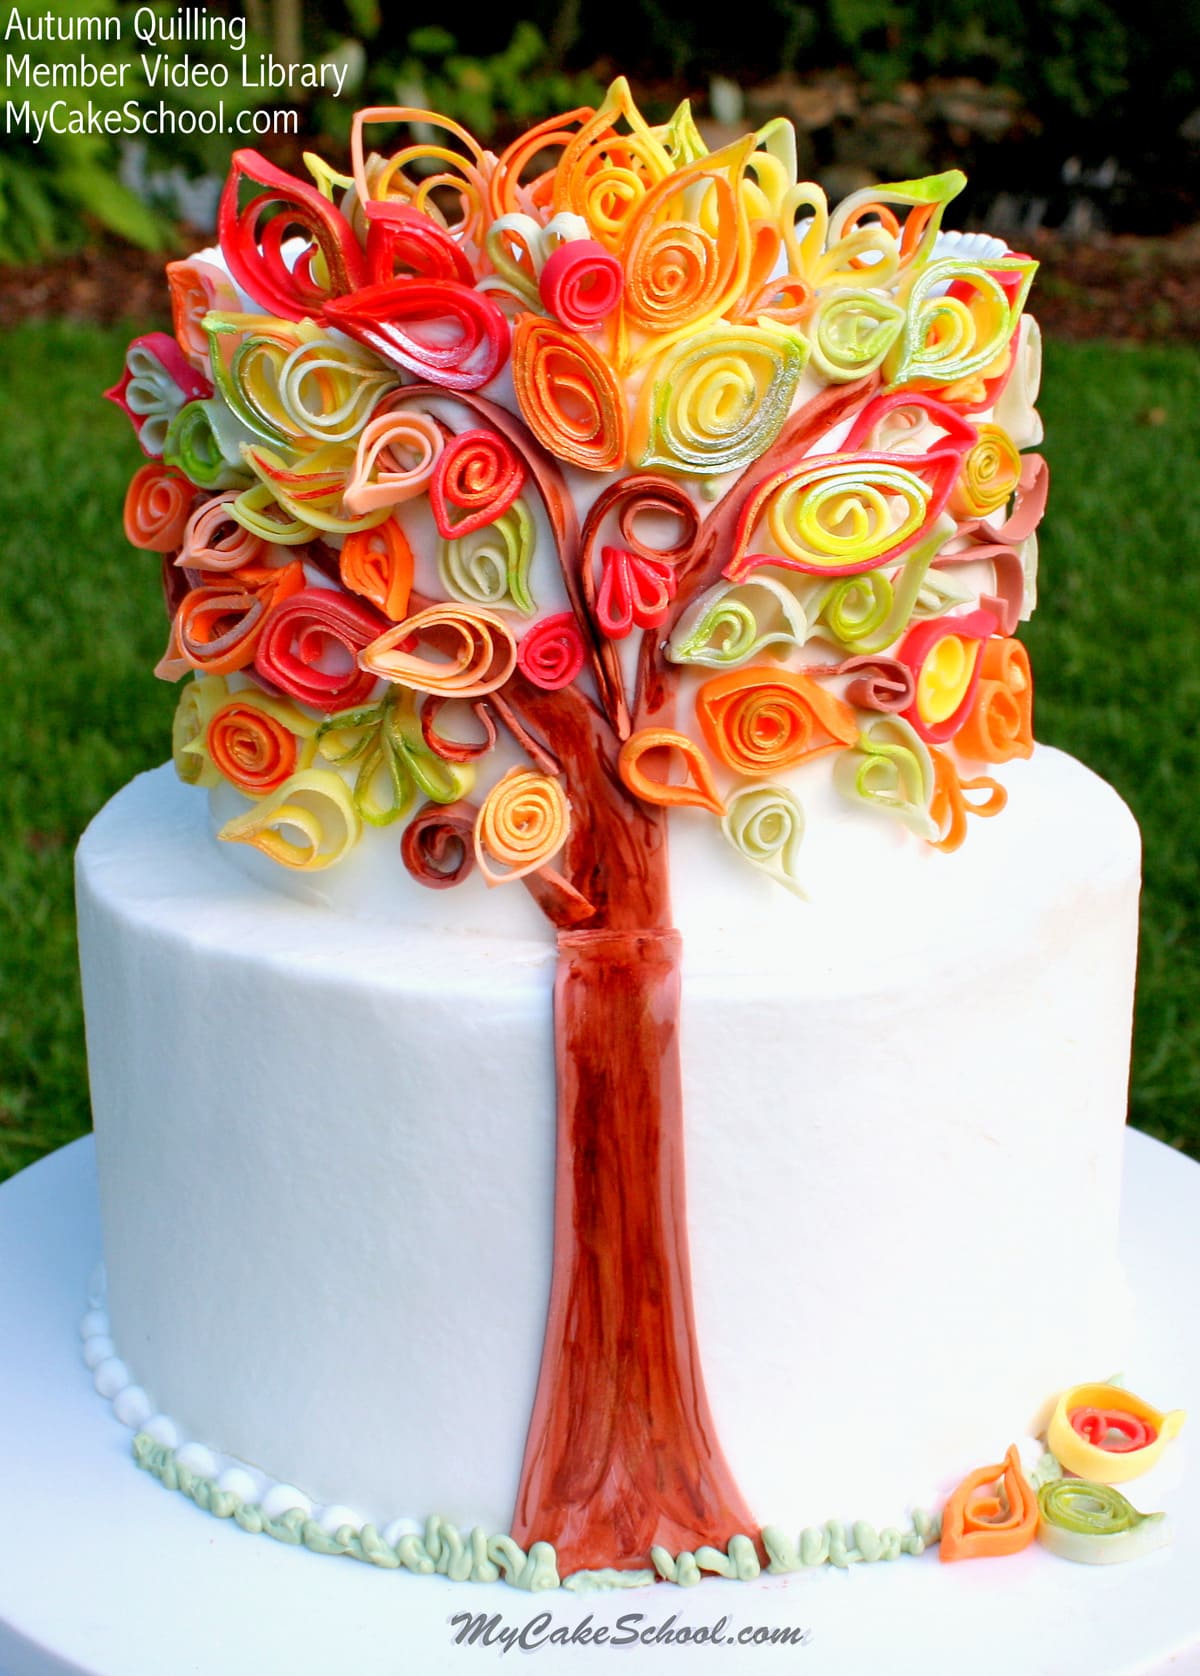
More Fondant Quilling Cakes to Share!
*Update! We have continued to make fondant quilled cakes over the years. Here are a couple more of our favorites from our Member Section that you may like to try one day!
So amazed....I love quilling the moment I saw it...I will do it one day...just start baking again....tnk u so much...God bless you for sharing...
Thank you, Mariquiat
I so love this cake!! So beautiful!!
Thanks so much, Maureen!! xo
Stunning!!! I accually just saw how to make paper quills so I can't wait to try it with fondant!!!