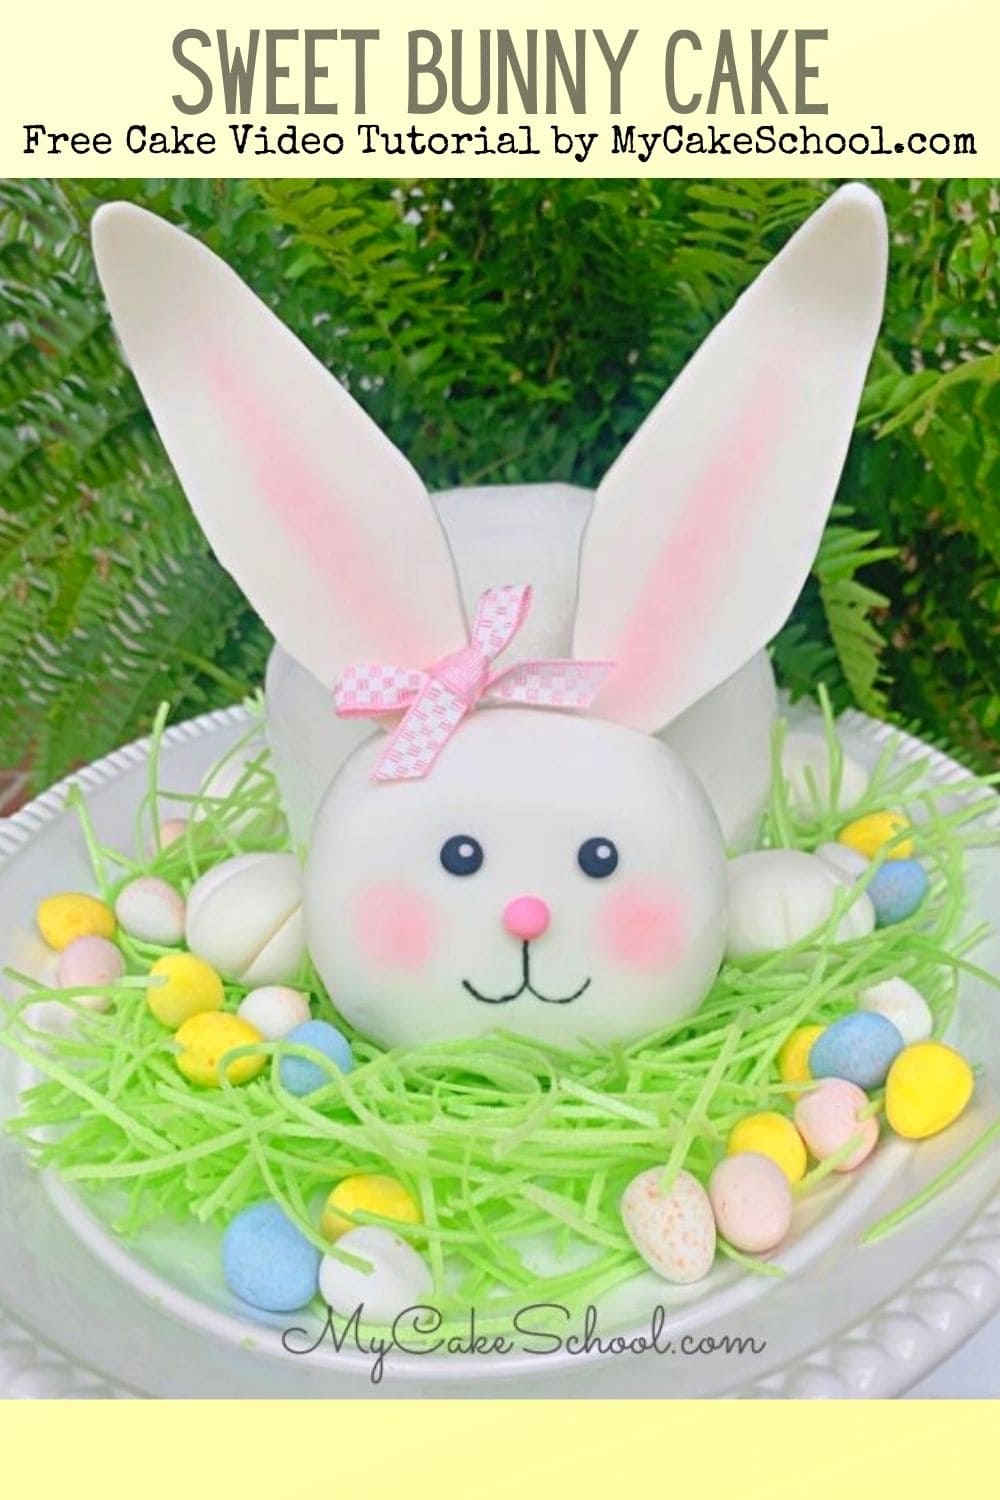
Sweet Bunny Cake {Free Video Tutorial}
Today we are sharing a cute and simple Sweet Bunny Cake design with you!
This 3D bunny cake would be perfect for Easter gatherings and would even make an adorable cake for baby showers or young birthdays.
**March 2021 Update: We have just republished this post which was originally created in 2012, to include a free video tutorial! I've always loved this sweet bunny cake design and now you can watch as it all comes together on video (in addition to the original step by step blog tutorial)! We hope that you enjoy it!
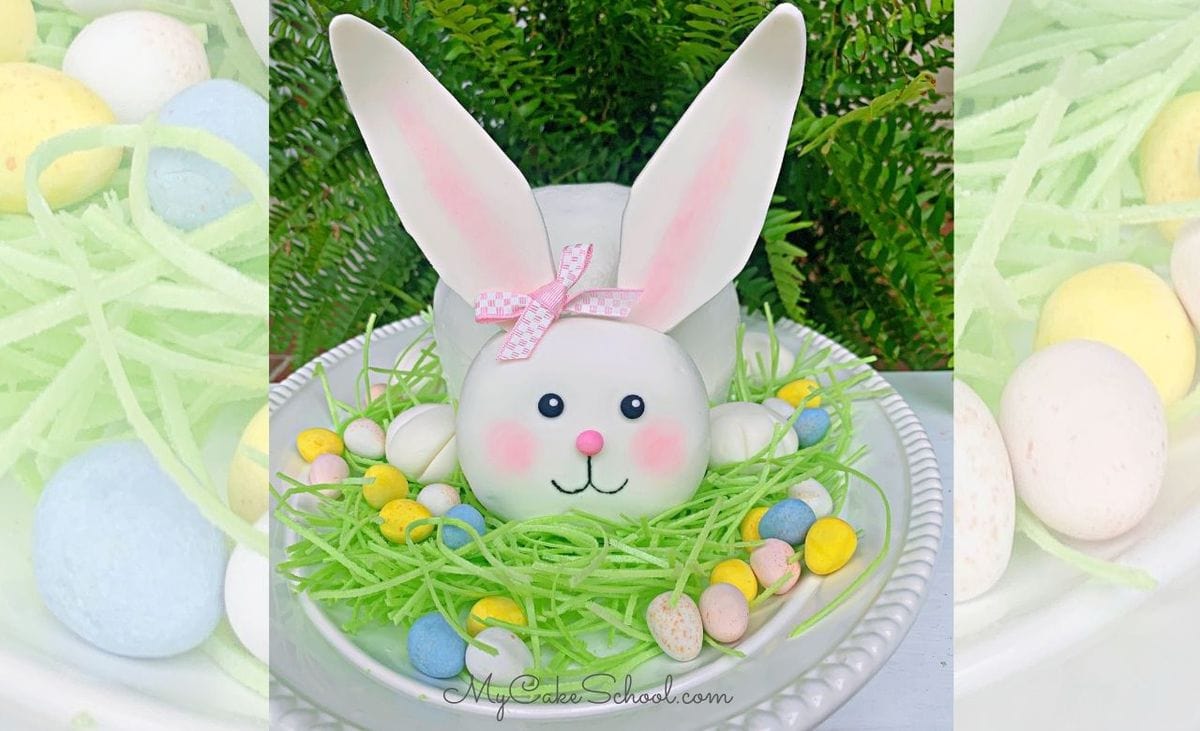
Table of Contents
How to Make a 3D Bunny Cake
(This original bunny cake tutorial was posted 3/24/12, but was updated in March 2021 as a video tutorial)
I'm starting off with the bunny ears because if you want stand-up bunny ears, you'll need to dry them in advance.
This is white gum paste (although fondant with tylose kneaded in would work fine too.). Just roll your gum paste to approx ¼-1/8" thickness, cut out your shapes, and let them dry for a couple of days. (Mine were actually ready after one night but it's best to play it safe.). You could also cheat and use white card stock anchored in back with lollipop sticks :0)
See how I made one ear flop forward? Another idea is to just work with fondant and let the bunny have completely floppy ears! No need to dry in advance if you go this route. We'll get to the pink in the center of the ears a little later on --

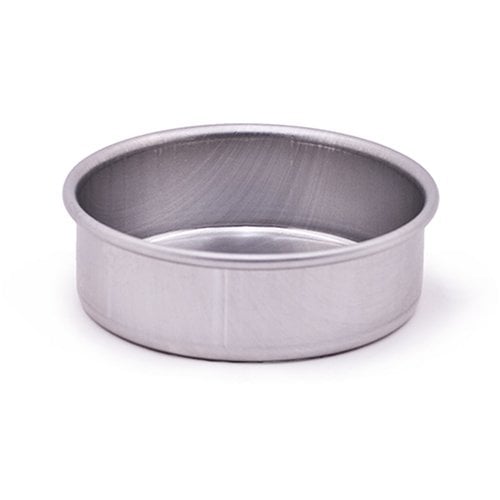
I'm starting with a 6" round cake layer & a cake made from Wilton's half ball pan. You can improvise by carving a couple of 6" stacked layers into a dome if you do not have a ball pan--or you could bake in an oven-safe bowl.

Next, I filled and stacked my two layers (with buttercream in the center). I tapered the cake slightly at the bottom so that the cake would have a more rounded appearance.
Carving/tapering is an optional step and wouldn't work well with cakes that are super soft. As you can see, I took off just a small amount.

Next, as you've seen me do many times, I frosted my cake with a crusting buttercream. Any crusting buttercream frosting will do but we used our Fluffy Vanilla Buttercream recipe.
I allowed the frosting to crust (this happens after about 5 minutes), and then smoothed over everything with a Viva brand paper towel (no impressions or quilting on Viva).
(If you are working with a non-crusting frosting, you can either keep the frosting swirled with texture, or you can chill the frosted cake just until the frosting is firm and then smooth with a hot spatula.)


Now that our cake bunny's body is nice and smooth, let's start thinking about the head. Instead of carving a cake head, I thought it would be easier to go the good old rice cereal treat route.
Here, I mashed 4 pre-made rice cereal treats tightly into a dome shape--perfect for bunny's head.

Next, I rubbed my rice cereal treat with a light coating of shortening and then layered a piece of fondant over it.
Actually, I used two layers of fondant--one still showed a few lumps and bumps. Then, I just cut off the excess fondant and was left with a perfectly smooth bunny head.
An alternative would be to frost right over the head with buttercream !

Next, I added two little black fondant eyes, a pink fondant nose, and some rosy cheeks. The rosy cheeks are pink petal dust which I applied with a dry brush. I used the same on the ears.

Next, I used a skewer to push two holes into the top of the bunny head. This is where the ears will go!

Next, I took my dried gum paste ears and flipped them over. Then I attached lollipop sticks to the backs with dampened pieces of fondant.
They were set within 30 minutes. Your sticks don't need to be this long. I trimmed mine a bit before actually inserting them into the head.

After putting in my ears, the bunny head was ready! I attached it to the body with a bit of buttercream.

Have you ever seen edible bunny grass? Mom found this in a local grocery store :0) --If you don't have this, you can simply pipe buttercream grass, or you could even surround your bunny with jelly beans!

I added a bunny tail using a Wilton piping tip 12--but use whatever you have on hand, or just do a swirl of buttercream!

I drew on a little bunny mouth with an Americolor coloring pen. That's an optional step, but I thought it made her a little more cheerful! Oh, and our bunny needed a bow too! Little white dots in the black eyes bring our bunny to life. Here she is!!

Isn't she sweet? Now some of you may be wondering what our bunny would look like with more textured, swirled fur. I wondered this too--so I tried it! -- Bunny is going to the salon for a new 'doo...
I piped on some extra buttercream and did a little swirling with my spatula.


And we're done!! Which bunny do you like better? Smooth or swirly? Swirly is perfect for any icing, but especially with non-crusting frostings. I think that either way, you really can't go wrong.
Enjoy the Video!
We hope that you enjoy this 3D bunny cake video! If you give it a try, we would love for you to leave a comment and photo below!
Sweet Bunny Cake {Free Video Tutorial}
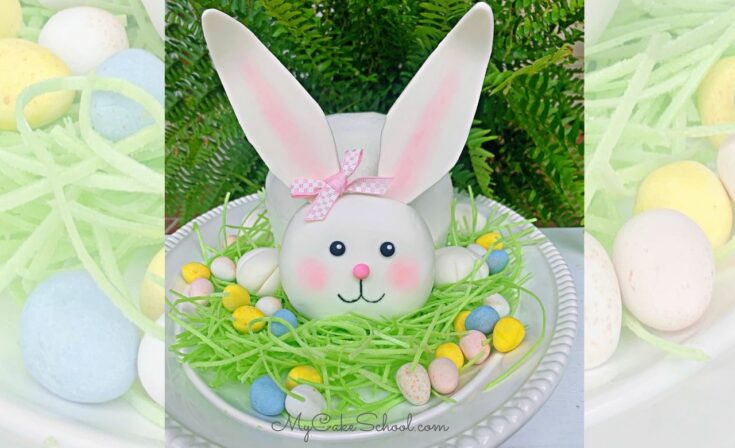
This sweet 3D Bunny Cake is perfect for Easter gatherings! This easy cake design is so much fun!
Ingredients
- For our bunny's body, we stacked a cake baked in Wilton's half ball pan on top of a 6 inch round cake layer. We filled and frosted the cake with fluffy vanilla buttercream.
FOR THE HEAD
- I pressed together 4 pre-made (22g size) rice cereal treats to create the shape that I needed.
- Gum Paste for the ears (You can also knead tylose powder into fondant for something similar)6 inch cake layer
- Half ball cake (baked in Wilton's Half Ball pan). If you don't have this pan, just carve your bunny body from 3 stacked 6 inch cake layers, rounding it at the top. Carving is best done when layers are partially frozen.
- Rice cereal treats (for bunny head)- We used 4 pre-made Rice Krispies Treats in the 22 g size.
- Gum Paste for bunny ears- (You can also use fondant with tylose powder kneaded into it)
- Fondant for bunny head and feet (You can also use gum paste)
- Buttercream of choice - We used our Fluffy Vanilla Buttercream Recipe
- Two thin wooden skewers or lollipop sticks for bunny ears
- Optional-Ribbon tied into bow for bunny ear
- Pink petal dust
- food writer pen
- Edible Easter Grass and Candy Eggs for platter
Instructions
Cake
- For our bunny's body, we stacked a cake baked in Wilton's half ball pan on top of a 6 inch round cake layer. We filled and frosted the cake with fluffy vanilla buttercream.
FOR THE EARS
- Cut out gum paste bunny ears from gum paste that has been rolled to about ⅛ inch thickness. Place on parchment paper to dry for 1-2 days. (Dry times may vary depending on humidity, etc.)
- **If you do not need for the bunny ears to stand up, you can apply the bunny ears to the bunny's head while the gum paste is still soft for floppy bunny ears.
- Once the ears have dried firm, attach a wooden skewer or lollipop stick to the back with a strip of food safe "glue" using either a little tylose glue (tylose powder + a little warm water), or a little melted candy coating. Allow the anchors to dry for about 30 minutes or until they seem secure. Add a little pink petal dust to the center of the ears with a dry brush.
FOR THE HEAD
- We used four Rice Krispies Treats to press together and shape into the right size and shape for the bunny's head (adjusts number of rice cereal treats to your liking). We used the 22g size.
- Lightly coat molded cereal treats with vegetable shortening and cover with fondant rolled to about ⅛-¼ inch thickness. If it seems too lumpy after covering, you can cover with another layer of fondant.
- Once the surface of the fondant is dry, you can add the fondant eyes, nose, and draw on the mouth with food writer pen. Dust on rosy cheeks if you'd like with pink petal dust. Carefully drive two holes into the top of the head where the ear anchors will go.
FOR THE BUNNY BODY
- Frost the cake layers with buttercream- you can frost the bunny with a smooth finish or with a fluffy swirly textured finish. You can do this on your cake platter, or if the cake is on it's own cake board, frost it on your turntable and then move to the cake platter.
- Add the head to the body (you can secure with a little buttercream if needed)
- Gently push the ears into the bunny's head- enlarge the holes a little if the anchors/ears don't easily slide in.
- Attach bunny feet (balls of fondant shaped into feet)
- Attach bow with a little buttercream
- Arrange edible Easter grass and candy eggs around bunny. (You could also pipe buttercream grass using a grass or star tip, or you could tint coconut green and use that a grass.
Notes
To be on the safe side, make your bunny ears 2-3 days in advance to allow them to dry completely.
If you are in a time crunch, soft fondant ears can be used also, for a floppy eared look instead of ears that stand up.
Recommended Products
As an Amazon Associate and member of other affiliate programs, I earn from qualifying purchases.

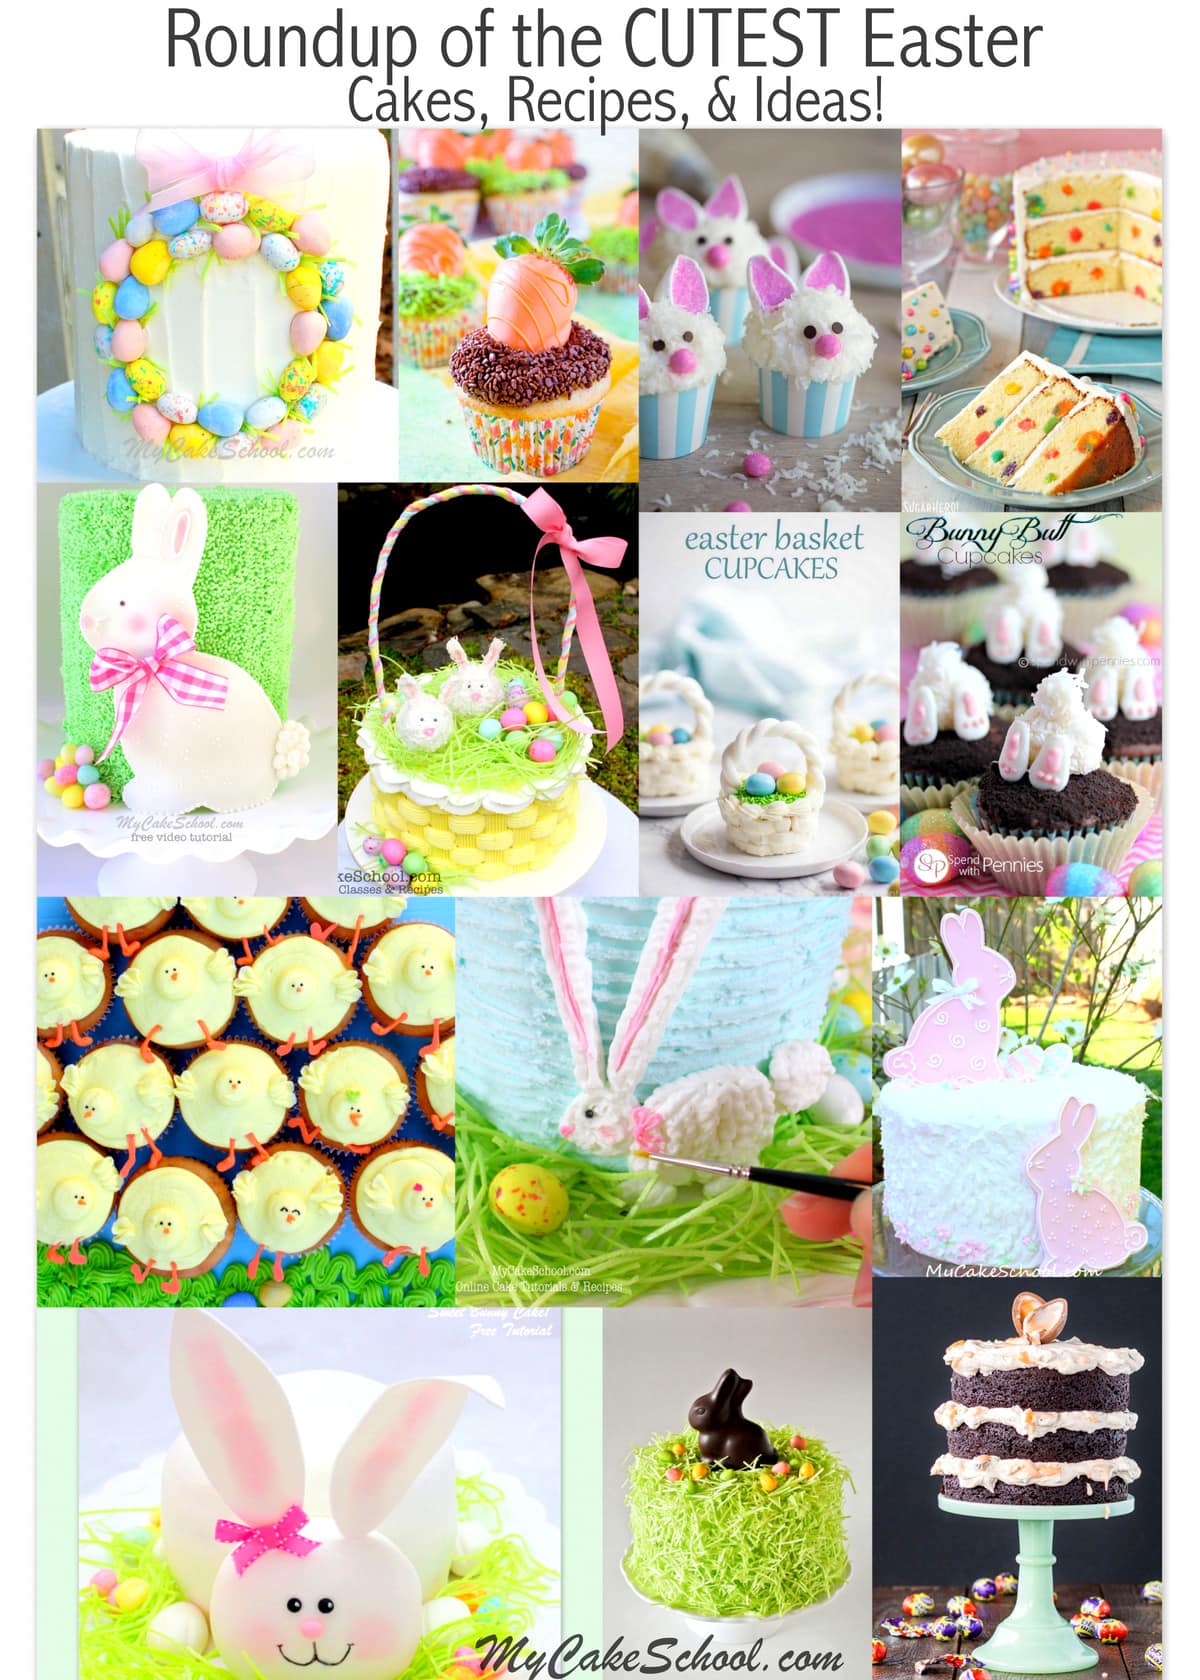
Our Favorite Easter Cakes, Recipes, and Ideas!
Looking for more springtime and Easter cake and cupcake ideas? We have a fabulous roundup of our favorites in this post: Roundup of the BEST Easter and Springtime Cakes, Tutorials, and Ideas!
What are the feet made of.
Hi Sylvia, they are made from fondant.
Thank you so much for the excellent tutorial. My daughter wanted a rabbit cake for her 3rd birthday and I would never have attempted something so professional looking without your encouragement that it was in reach for relative cake newbs like myself! I'm so pleased with the results and my daughter loves it :)
Michelle your cake is just ADORABLE!!! Thanks so much for posting your photo! xoxo
So adorable!!! Thanks for reposting!!