Skip to content
About
Newsletter
Facebook
Instagram
Pinterest
Recipes & Tutorials
Cakes and Cupcakes
Fillings
Frostings and Glazes
Cake Decorating Tutorials
All Recipes & Tutorials
Cake Type
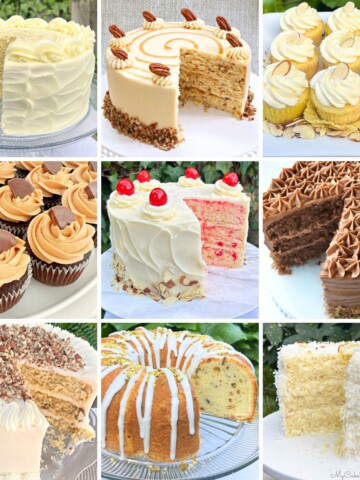
Scratch Cakes
Cake Mix Recipes
Cupcakes
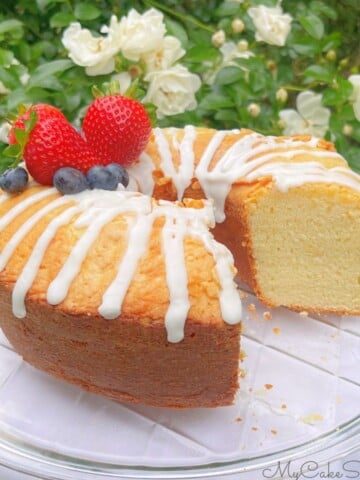
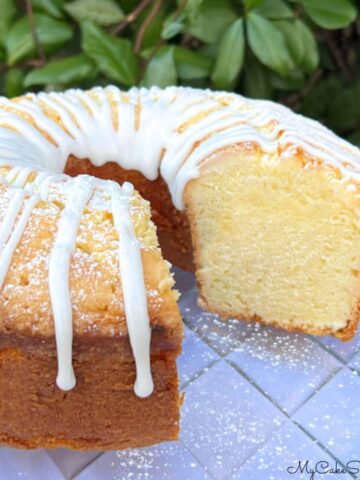
Pound Cakes and Bundt Cakes
Flavors
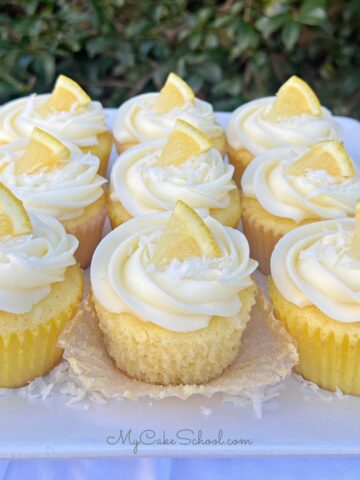
Lemon
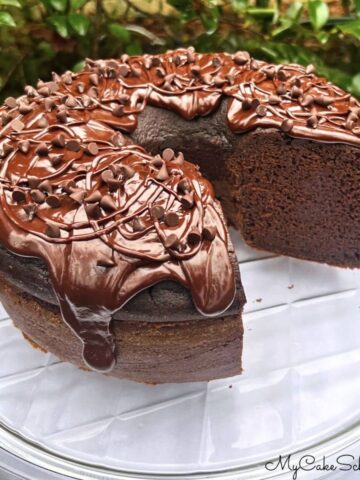
Chocolate
Vanilla
Caramel
Coconut
Fruity
Boozy
Classics
Seasonal
Coffee
Spring & Easter
Archives
Red Velvet Cupcakes (Cake Mix)
Fourth of July Cake Recipes
Berry Mascarpone Cake
Easy Almond Cake (cake mix)
Hummingbird Cheesecake Cake
Brownie Cupcakes
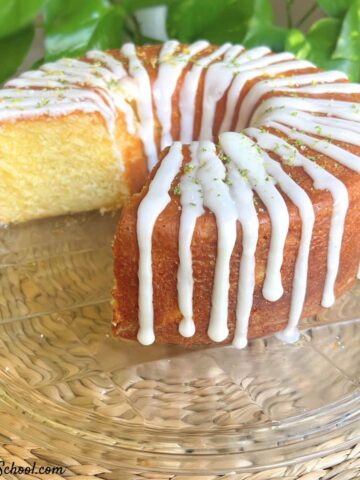
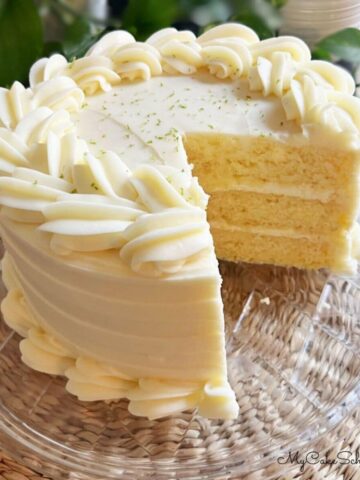
Lime Velvet Cake
Butterscotch Pound Cake
Amaretto Cake
Easy Coconut Rum Cake
Easy Coconut Cake
Ricotta Cake
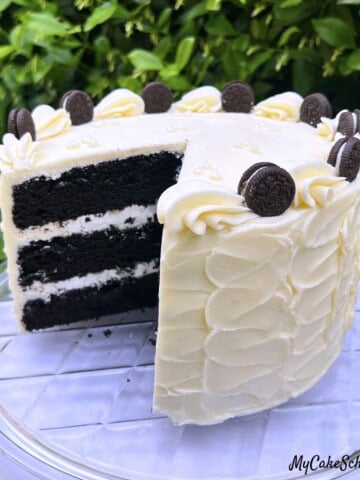
Black Velvet Cake
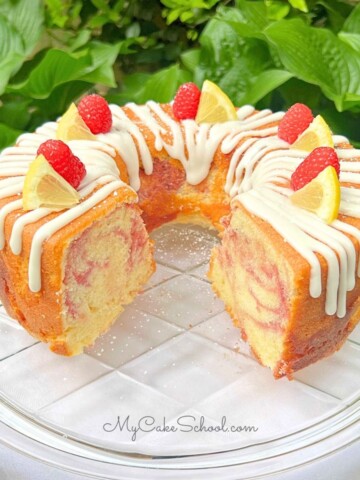
Lemon Raspberry Pound Cake
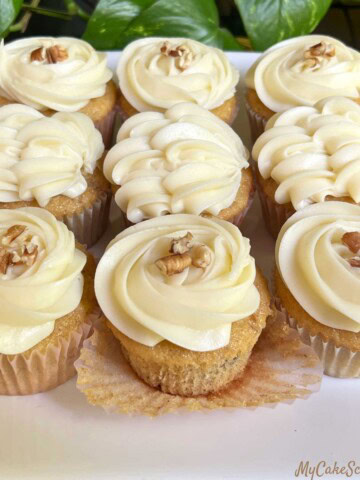
Hummingbird Cupcakes (Cake Mix)
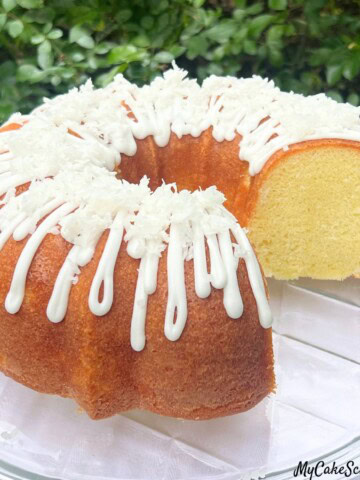
Coconut Bundt Cake
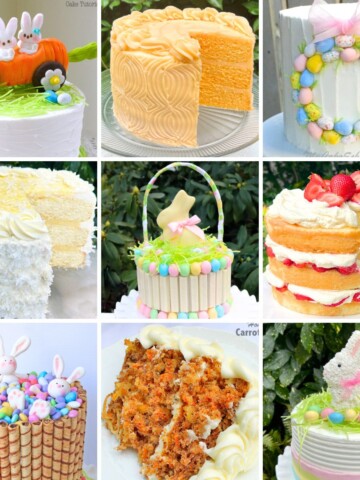
70+ Easter Cakes and Tutorials
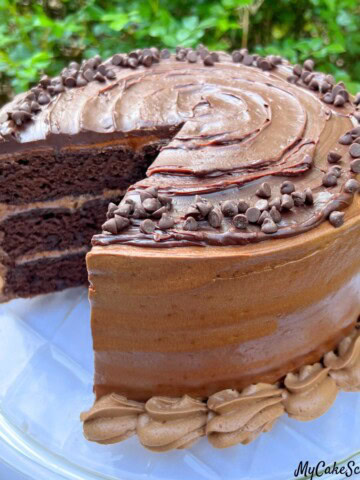
Triple Chocolate Cake (Cake Mix)
Spring Cake Recipes
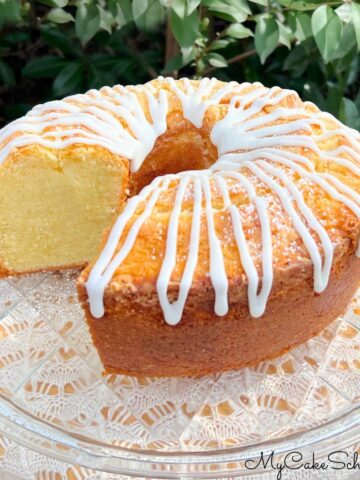
Margarita Pound Cake
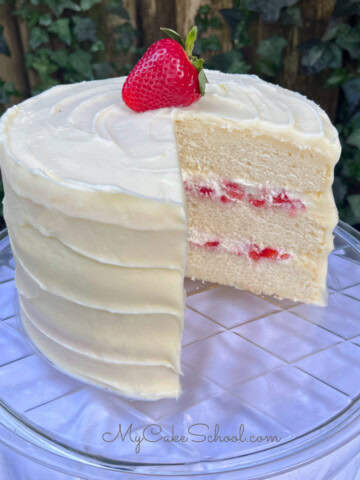
Strawberries and Cream Cake
Champagne Velvet Cake
Fruity Pound Cakes
Cannoli Cupcakes
Lemonade Cupcakes
Mocha Cupcakes
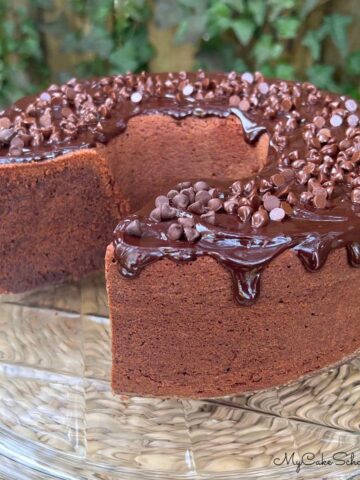
Chocolate Sour Cream Pound Cake
Key Lime Cake
Favorite Valentine's Day Cakes
Million Dollar Pound Cake
Lemon Sour Cream Cupcakes
Chocolate Ricotta Cake
Orange Cupcakes
Lemon Coconut Cupcakes
Favorite Nutty Cakes
Lemon Sour Cream Pound Cake
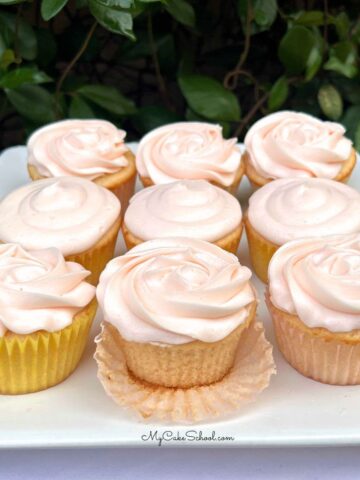
Pink Champagne Cupcakes
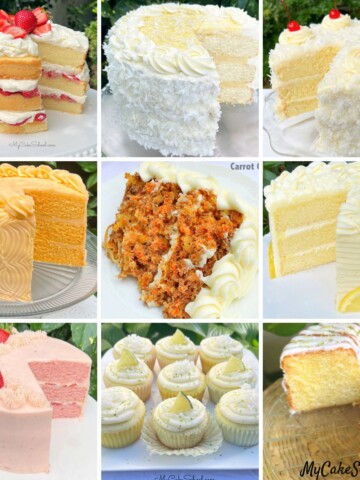
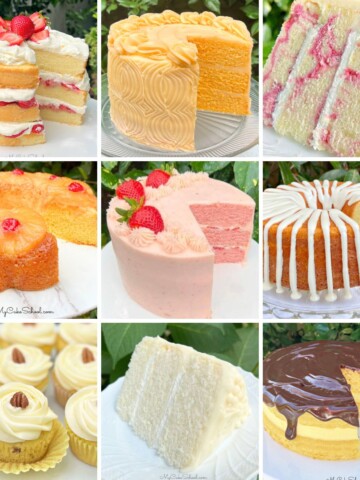
Most Popular Cakes of 2024
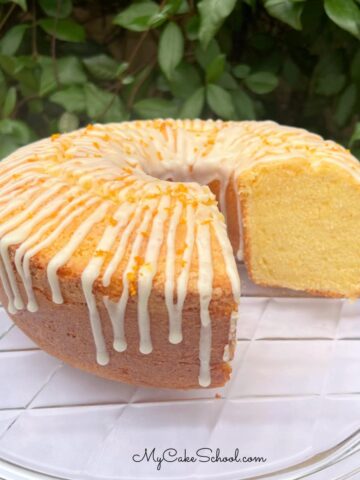
Orange Pound Cake
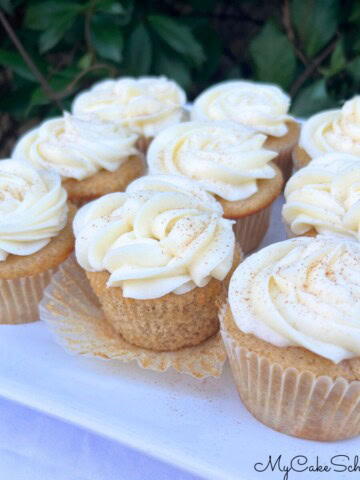
Eggnog Cupcakes
Recipes & Tutorials
Toggle child menu
Cakes and Cupcakes
Fillings
Frostings and Glazes
Cake Decorating Tutorials
All Recipes & Tutorials
Cake Type
Toggle child menu
Scratch Cakes
Cake Mix Recipes
Cupcakes
Pound Cakes and Bundt Cakes
Flavors
Toggle child menu
Lemon
Chocolate
Vanilla
Caramel
Coconut
Fruity
Boozy
Classics
Seasonal
Coffee
Spring & Easter
Facebook
Instagram
Pinterest
Search for: