Buttercream Dogwoods Cake Tutorial
Today we are sharing a gorgeous buttercream dogwoods cake design that would be perfect for spring!

I just love this time of year. Springtime in NC means that the dogwood trees are in full bloom! We wanted to incorporate these beautiful flowers into our next cake. We are so happy with the result.
This buttercream dogwood cake would make a perfect birthday cake idea, bridal shower cake, wedding cakes, and more!
Table of Contents
Enjoy the Tutorial!
We hope that you enjoy this buttercream dogwoods tutorial. If you give these techniques a try, we would love for you to leave a comment and photo below!
We have broken the tutorial into two parts.
PART ONE: Learn the basics of piping this beautiful flower, as well as a few added accents for a very realistic blossom.
PART TWO: We demonstrate how to pipe the dogwood flowers on the front side of our tiers, and you will watch as we add our leaves and dots.
Materials:
In this tutorial, we used 3 frosted cake dummies: 8 inch/6 inch/4 inch tiers.
We used our fluffy vanilla buttercream recipe in the video but any crusting vanilla buttercream would work well. We really like our Classic Vanilla Buttercream recipe as well!
Colors: Americolor Avacado Green, Bright White, Lemon Yellow, Warm Chocolate
Vodka or Lemon Extract- We used this combined with our coloring gels to create a "paint". The alcohol makes a fast drying paint.
Piping Tips: I used a Wilton tip 125 for the petals, Wilton tip 3 for the center, and a Wilton 104 for the small blossom
(optional)
Miscellaneous: Waxed paper for practice, piping bags, cardboard or foam core cake circles (for each tier to rest on), supports or dowels of choice, base or pedestal, Viva paper towels for smoothing (or method of choice), toothpicks, paint brushes
**These dogwood blossoms would be beautiful in light pink as well!
More helpful Methods
** Have questions about Tier Stacking or the Viva Method of smoothing? We didn't demonstrate these methods in our tutorial, since we have made tutorials on these methods before. You can find them linked below.
More Buttercream Flower Tutorials
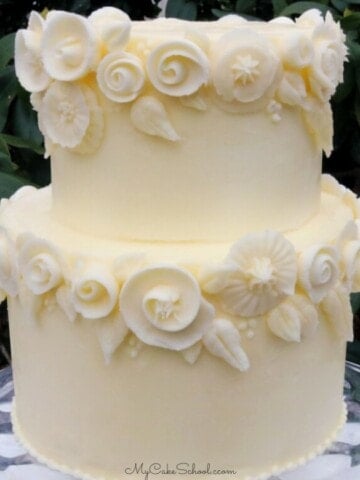
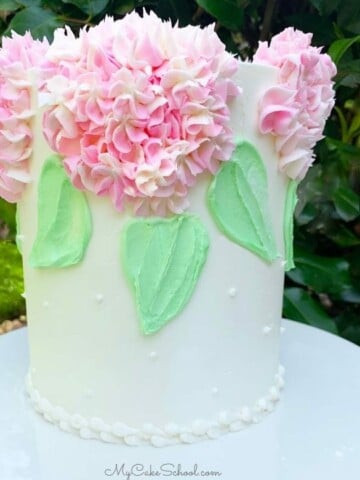
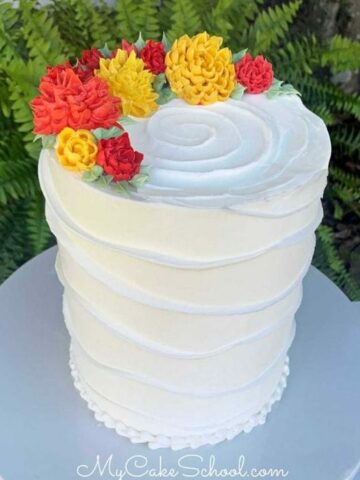
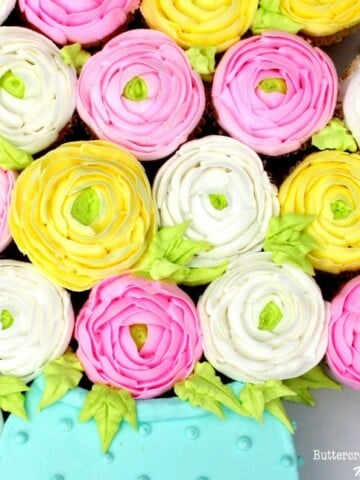
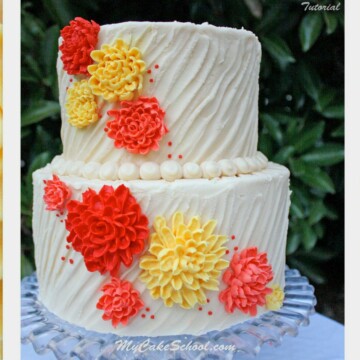
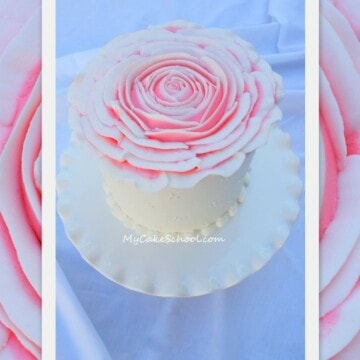
We've made several easy buttercream flower tutorials over the years! Some of our favorites are our buttercream ranunculus, buttercream chrysanthemums, and buttercream hydrangeas (the easiest)!
Don't miss our full collection of cake recipes and cake decorating tutorials!
Thank you Patricia, I think she will love it.
Amazing once again!
Amazing once again! Love it!
Oooowaw what a gorgeous cake! I'm gonna try this Melissa with a Christmas theme and hope it turns out good. I'm gonna make red Christmas roses and pipe the edge of the petals in gold pulling the gold through very lightly to make it look a little brush embroidery. I have enough time to practice my piping between now and the big day. BeBe your filming was impeccable, in my mind this was quite challenging to get the piping angles but you did it so clearly. A great tutorial from both of you, thank you so much.
Thank you so much for your kind words, Roze! We really appreciate them. Best of luck with your Christmas cake, it sounds beautiful!
Melissa how long in advance should I make my flowers? I love this video! Love Dogwoods!!!
Hi Ann-Marie! Thanks so much. I've always just piped the dogwoods directly onto the cake. (In Part 1 of the video, I piped onto waxed paper just for demonstration purposes) ;0)
For other buttercream flowers that I've dried in advance, 1 1/2-2 days is all that it takes for me when using a crusting buttercream (like our high ratio recipe).
Beautiful flowers. When you added the dots, I couldn't help but to think of Dotted Swiss fabric that was used in many dresses I had as a child.
Why didn’t you pipe them on wax paper squares, freeze them, and then place them on the cake. That would seem easier.